THIS ARTICLE MAY CONTAIN AFFILIATE MARKETING LINKS! IN CASE YOU MAKE A PURCHASE THROUGH ONE OF THE LINKS, WE'LL GET A SMALL COMMISSION. WITH NO EXTRA CHARGES TO YOU. THANKS!!
Photography is a powerful medium to capture and preserve moments, expressions, and perspectives. However, one common challenge every photographer face, especially in an indoor setup, is the presence of shadows. Shadows can either enhance an image or cause distracting elements, depending on how they are handled. This article propels us to delve deep into the essentials of indoor photography and detail out strategies to steer clear from the shadows. We will begin by understanding different light sources and how they influence the outcome depending on their positioning. Next, we will unravel core lighting techniques that help scatter light evenly and minimize harsh shadows. Further, we will explore significant camera settings that affect shadows and how we can use them to our advantage. Finally, acknowledging that theory is not enough, we will also dive into How to Avoid Shadows in Indoor Photography
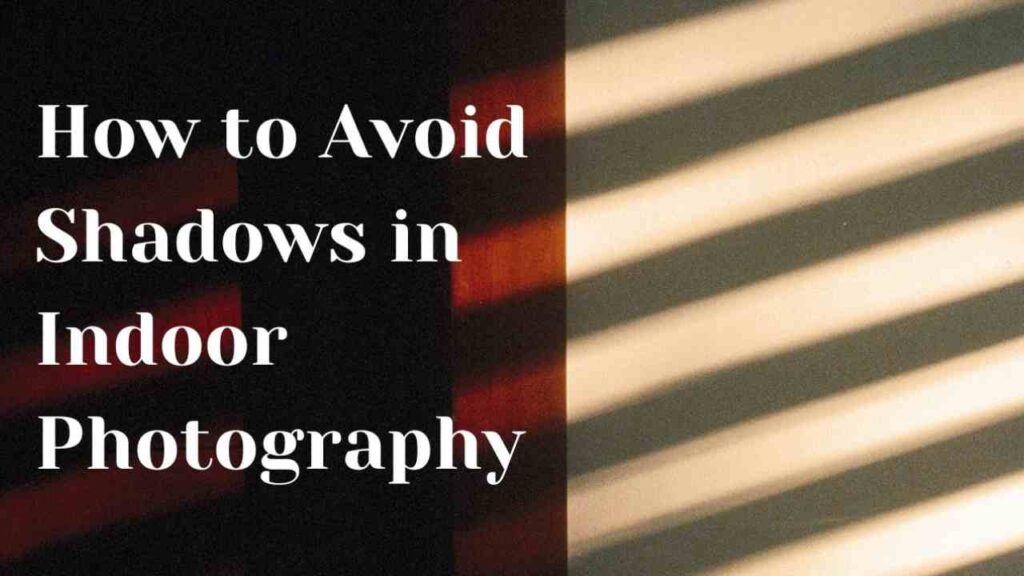
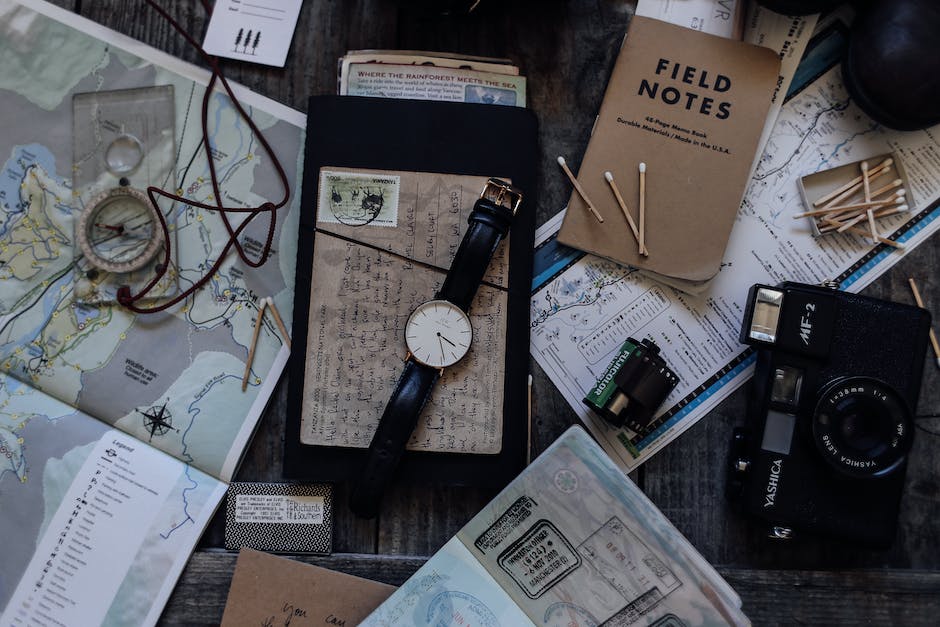
How to Avoid Shadows in Indoor Photography
Understanding Natural Light
Natural light is abundant and free, making it a popular choice for many indoor photographers. However, shadows can become a real challenge. Direct sunlight will create hard shadows, while diffused light from a cloudy day or through a window can soften shadows. The direction of natural light is also important – side lighting will create more dramatic shadows, while front lighting can flatten them. To minimize shadows, focus on shooting during times of day when sunlight is diffused through windows.
Utilizing Built-in Flash
A camera’s built-in flash can be a handy tool for combating shadows in indoor photography. However, the trouble with most built-in flashes is that they fire a harsh, direct light straight at your subject. This can cause deep shadows behind them. One way to counteract this is by using a technique called bounce flash — tilting the flash up so the light bounces off the ceiling and back onto your subject with a softer light. If your built-in flash doesn’t angle up, a small piece of white card in front of it can serve the same purpose.
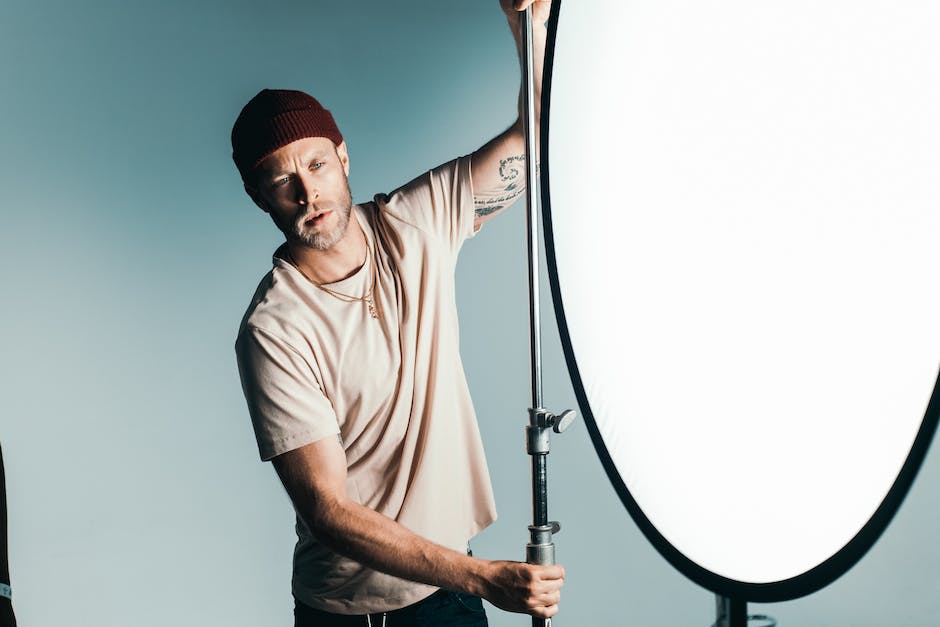
Exploring the Power of External Flash
Unlike built-in flashes, external flashes can be moved to different positions, providing greater control over the direction and strength of light. By positioning the flash off to the side, or bouncing the light off walls or ceilings, you can create a softer light that reduces harsh shadows. Be aware that the closer the light source is to the subject, the softer and larger the shadow will be. Experimenting with the position and angle of your external flash can help you find the perfect shadow-reducing setup.
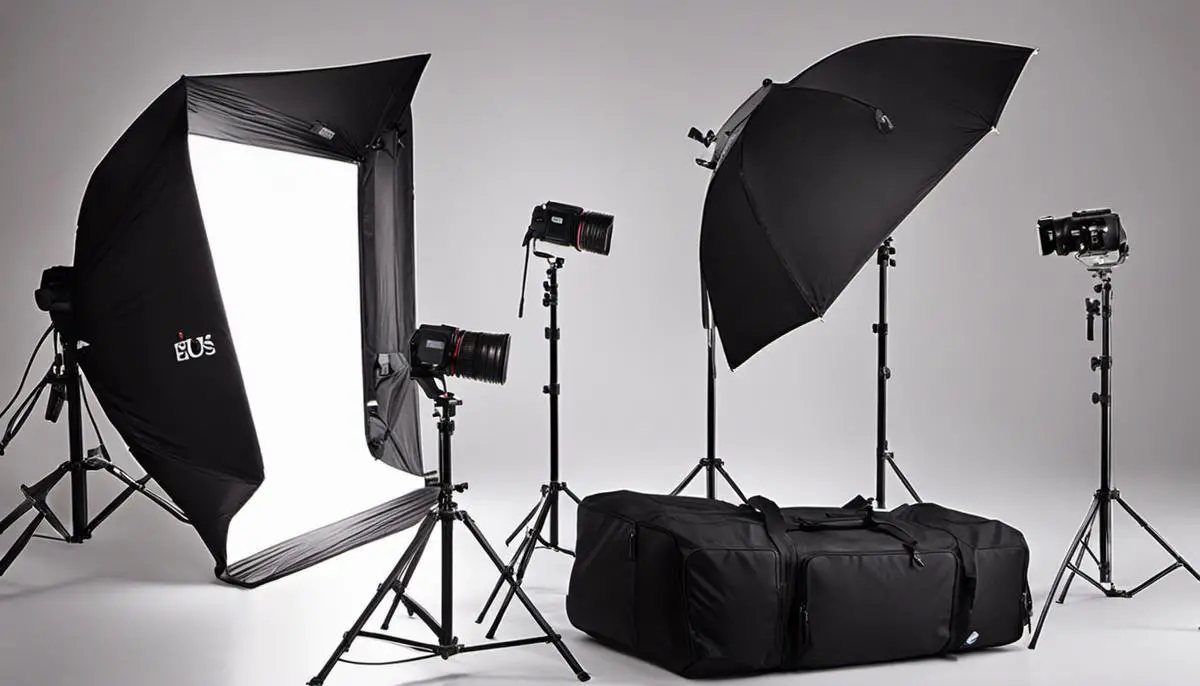
Working with Studio Lights
Studio lights offer the highest level of control in indoor photography. Through the positioning and direction, you can manipulate the light source to create all different styles of shadows – or none at all. Use diffusers and softboxes to soften the light, reducing shadow depth. The positioning of the light also plays a crucial role in shadow management. When you use a single light, position it high up and angled down to minimize visible shadows. Applying a three-light setup – key light, fill light, and backlight – can also help prevent and manage unwanted shadows.
Remember that photography is an art form and getting your lighting just right can mean a bit of trial and error, but with practice, you can skillfully manipulate each type of light to achieve your desired results.

Mastering lighting techniques
Identifying the Proper Lighting Equipment
Before diving into techniques, it’s crucial to identify the tools you will need. For indoor photography, some standard equipment includes a bounce flash, diffusers, and at least three sources of light. The bounce flash is a tool that diverts light toward a ceiling or wall to ‘bounce’ or reflect it back onto the subject. Diffusers, on the other hand, spread out light, making it softer and more even.
Understanding Bounce Flash
Bounce flash involves using a flashgun and pointing it up or to the side instead of directly at your subject. The flash then bounces off a surface like a wall or reflector and illuminates your subject indirectly. This creates a softer, more natural-looking light and reduces the harsh, unflattering shadows that direct flash can create. Play around with the angle of your flash and the distance between your flash and the reflective surface to manipulate the effect.
Applying Diffused Lighting
The next technique known as diffused lighting minimizes shadows and softens the overall light quality. You can implement this with diffuser materials like softboxes, umbrellas, or even DIY materials like semi-transparent white fabric or parchment paper. Diffusers spread the light out over a larger area, softening the illumination and creating a more flattering portrait. Position the diffuser between the light source and the subject, adjusting the distance and angle to achieve the desired effect.
Mastering Three-Point Lighting
Three-point lighting is a classic technique in photography, where you position three lights around your subject. The first light, the key light, is the primary and brightest source illuminating your subject. The second light, the fill light, is placed opposite the key light and helps to soften the shadows. The third light, the backlight, is placed behind the subject and gives depth and a three-dimensional feel to your portrait. Adjusting the intensity and positioning of these three lights allows for precise control over shadows and accentuates the subject’s features.
In general, the most effective way to avoid shadows in indoor photography is to understand and control your light source. This can be achieved by implementing the techniques of bounce flash, diffused lighting, and three-point lighting. All of these methods manipulate light to create a softer feel, ultimately reducing harsh shadows and highlighting the beauty of your subject.
- Some Most used Techniques in Photography
- What is Value in Photography?
- Best Camera for Car Photography
Exploring camera settings
The Aperture Factor
The aperture, fundamentally, is what controls the depth of field in a photograph. A low aperture creates a higher concentration of light, potentially washing out unwanted shadows in a photograph. If your aim is to limit the effect of shadows in your indoor photography, you may find success by lowering your camera’s aperture. Of course, be mindful of other elements such as the depth and breadth of the photo. Play around with different settings, observing how the lighter and darker areas interact with one another.
Understanding Shutter Speed
Shutter speed can also have an impact on the presence of shadows in your shots. Shutter speed refers to the duration of time that the camera’s shutter is open, that is, the duration of time that light is allowed into the camera. A longer shutter speed permits more light to fall on the sensor, thereby brightening the resulting photograph and potentially minimizing shadows. Do remember though, prolonged shutter speeds might lead to blurred images if the camera is not held steady or if objects are in motion.
The ISO Spectrum
ISO plays a key role in controlling the brightness of a photograph. A higher ISO setting makes your camera more sensitive to light. Higher ISO settings usually contribute to brighter photos, but they can also introduce digital noise, which can detract from the quality of your photo. Lower ISO settings result in lesser noise, but they call for adequate lighting. Your challenge is to strike a balance between sufficient light and preserving your image quality. Using a tripod and experimenting with various ISO settings can be extraordinarily helpful in controlling shadows.
Embracing Your Camera’s Options
Don’t hesitate to explore the functions of other settings that your camera might offer. White balance settings, for example, are a significant part of many digital cameras today. This feature allows the camera to comprehend what white looks like under different lighting situations, which can fundamentally adjust the look and feel of your photograph, including the shadows. Additionally, if your camera offers bracketing features, use them. This tool allows you to take several shots at different exposures, thereby helping you deal with shadows in a unique way.
The Power of Practice
To truly understand and eventually master your camera’s settings, you need to experiment and practice. Take photos under varying lighting conditions and review them, paying special attention to the shadows. It’s not only about relying entirely on what your camera can do, but also honing your ability to manipulate it effectively.
Practicing shadow reduction
Understand Your Lighting Source
To reduce shadows in indoor photography, firstly, understand your lighting source. Is it a window, overhead light, or lamps? Working with light is fundamental in photography. When you know your light source, you will understand how it casts shadows and how to manage it. For instance, if the light source is coming from behind your subject, it can cause a shadow in your photo. Try adjusting the position of your subject or the light source to see the changes in shadow distribution.
Adjust Your Camera Settings
The camera settings play a major role in managing shadows in indoor photography. Start with adjusting the ISO setting which determines how sensitive your camera’s sensor is to light. A higher ISO value will make your photograph brighter, thereby reducing the appearance of shadows. Also, changing the shutter speed and aperture will also influence the illumination of your shots. Remember, too much brightness may wash out your photos, so maintaining a balance is important.
Experiment with Different Positions
It’s crucial to experiment with different positions and angles to help eliminate shadows in your shots. This could mean moving your subject within the room or re-arranging objects that could be causing unwanted shadows. It’s always good practice to experiment and keep adjusting your approach until you achieve a satisfying result.
Use Reflectors or Artificial Light
Sometimes, the natural lighting in a room might not be enough to prevent shadows. In such situations, using reflectors or artificial lighting can be beneficial. Reflectors can bounce the light onto your subject, thereby reducing shadows. If you are using artificial light, ensure that it’s evenly distributed throughout the room. Use soft boxes or diffusers to spread the light evenly and reduce harsh shadows.
Explore Post-Processing Techniques
Finally, doing some post-processing on your photos can help you further reduce shadows. Using photo editing software, you can adjust the shadows, highlights, and contrast in your images. Play around with these settings until you find a balance that minimally presents shadows and maintains the overall quality of your photos.
With regular practice of these techniques, you’ll definitely see an improvement in your shadow management in indoor photography. However, remember, there is no hard and fast rule, each environment requires a different approach and your personal creative touch would always be needed.
The art of avoiding shadows in indoor photography is achieved through a delicate blend of understanding light sources, mastering lighting techniques, manipulating camera settings, and dedicated practice. By embracing these strategies, you not only tend to minimize shadows but you also enhance the overall visual appeal of your images. Remember that each indoor setting and light source presents a unique opportunity to experiment and learn. So, never cease to push boundaries and try new approaches. Employ these proven tactics and observe a significant improvement in your shadow management over time.