THIS ARTICLE MAY CONTAIN AFFILIATE MARKETING LINKS! IN CASE YOU MAKE A PURCHASE THROUGH ONE OF THE LINKS, WE'LL GET A SMALL COMMISSION. WITH NO EXTRA CHARGES TO YOU. THANKS!!
Table of Contents
Have you been fascinated by Blacklight photography, and want to learn more about it. Then you have come across the right article. In this article, we talk about Blacklight photography and the best blacklight photography tips. So, let’s get started,
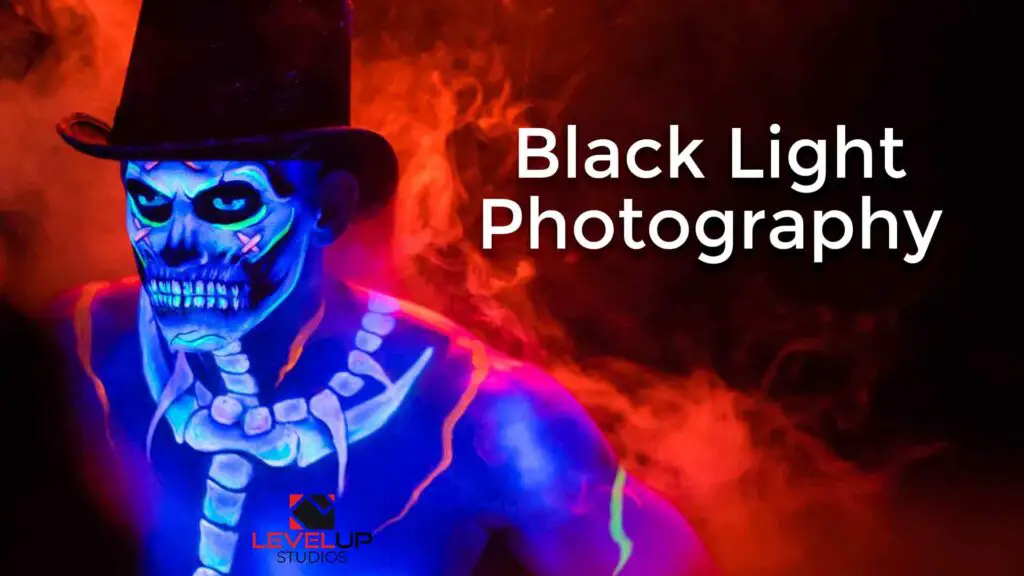
What is Blacklight Photography?
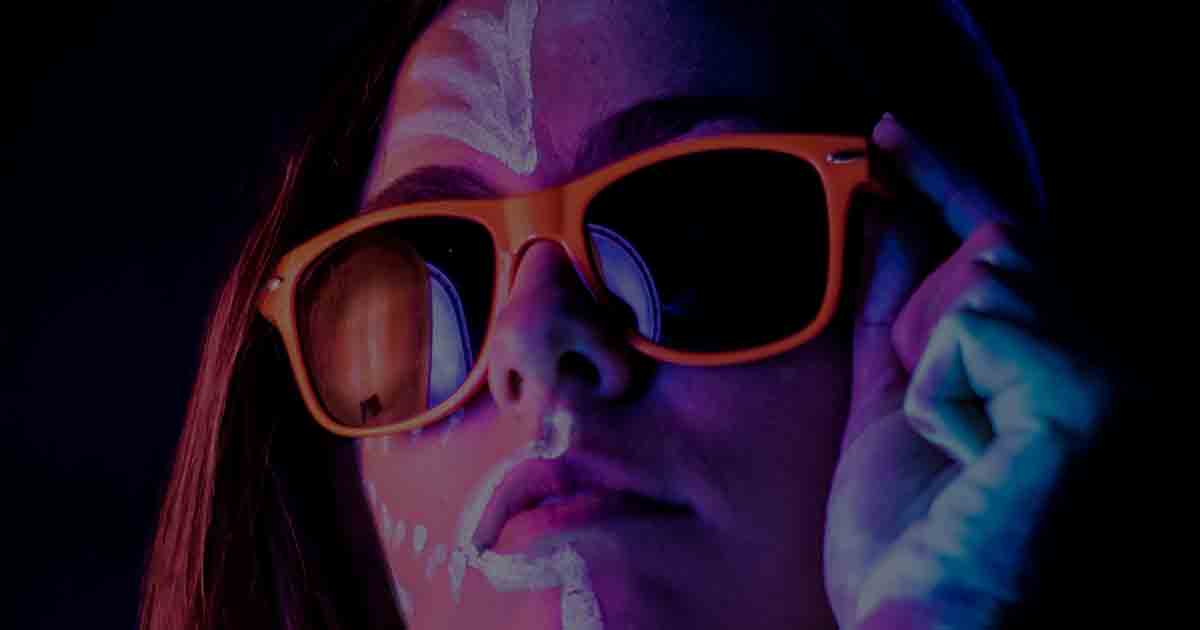
Before anything let’s have a quick look at what is blacklight photography? The so-called “blacklight” is referred to as ultraviolet light. Our eye cannot see it, yet we can see its impacts on specific colors and materials. Ultraviolet light is the reason we see them glow. Utilizing this inquisitive effect of ultraviolet light we can get exceptionally imaginative and unique pictures. Hence, in short, Photography done in and with ultraviolet light is called Blacklight Photography.
Essential Materials for Blacklight Photography
The essential things required for blacklight photography are listed below, you can easily purchase them online.
01. Blacklight Bulbs
The first thing that we will require, clearly, is blacklight bulbs. You can purchase LED bulbs, try to get two so we can make complex lighting schemes than with a single one. You can also pick different kinds of lighting, for example, fluorescent tubes, energy-saving bulbs, bars, LED panels or strips, and even flashlights. Just remember to get an ultraviolet one.
02. Fluorescent Makeup
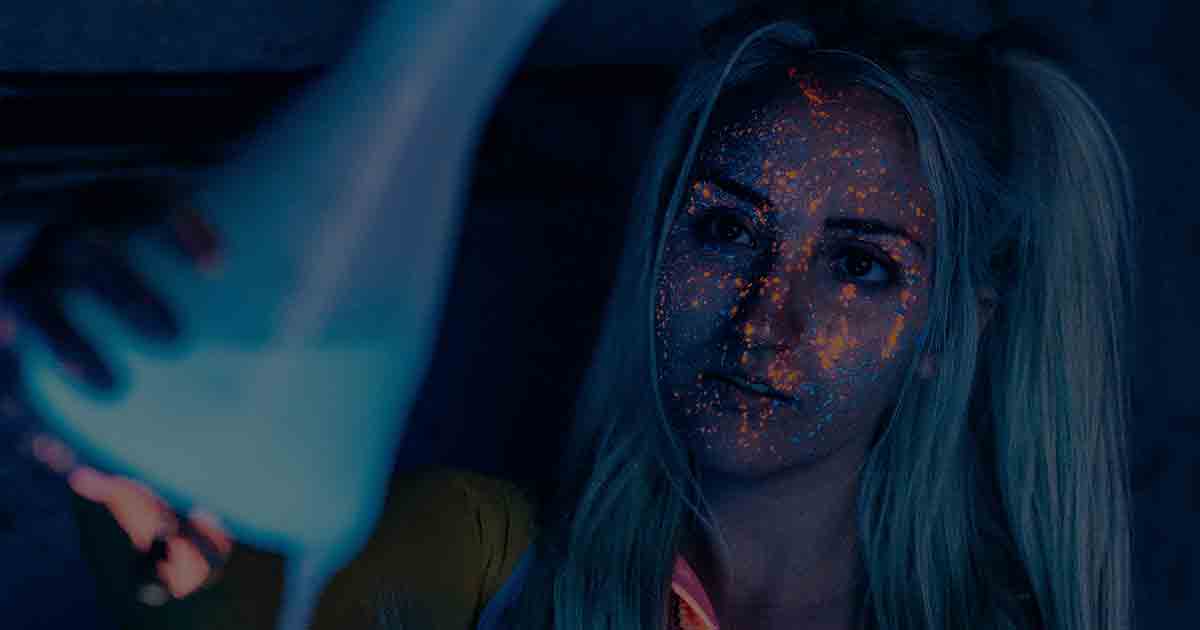
The other necessary and specific material that you will have to purchase is a pack of fluorescent makeup or paint, also known as neon makeup or paint. There are many kinds of fluorescent paint available.
03. Camera and Other Equipment
Lastly, we will require the most obvious thing, a Camera and other usual photographic equipment. It is advised to use a fairly bright lens since we will work in a dim light environment, so try not to raise the ISO too much.
Things to Remember Blacklight Photography Tips
Setting up the Set
Try to set up an extremely basic set, since what truly needs to stand apart is the model and their makeup. Make the background as uniform and dark as possible, so that the make-up stands out significantly more.
For the lighting used here’s an exceptionally simple plan: put the two bulbs at 45º to the left and right of the model, to accomplish a uniform brightening that makes all the cosmetics glow equally. After creating this basic setup you can then change the lighting plan, putting the lights all the more horizontally, at 90º, or raising them over your model.
- Everything you need to know, Blacklight Photography
- 3 Ways to Change Any Color in Photoshop
- Removing Background in Photoshop
Setting up the Camera
When the set is assembled, now it is time to do some lighting tests to see how to set up the camera.
01. Shutter Speed
First, let’s set the shutter speed slow enough to acquire as much light as could possible, and not too low to avoid shaking due model’s movement. For reference leave it at 1/60 second.
02. Diaphragm Aperture
And as for the diaphragm aperture, you will be working with low light, it will be great to open it wide. However, remember that at the extreme aperture, like f/1.8 or f/1.4, you will have a very shallow depth of field. In some instances, the glow of the make-up may stand out more than the model’s eyes and facial features. So, you can use your camera’s focus assist light or you can utilize a small flashlight to radiate on your model’s face to avoid this problem.
03. ISO Sensitivity
Lastly, it’s time to set the ISO, a general rule to follow is to turn it up until you get a proper exposure. Be careful so as not to make the make-up glow up more than the model’s skin. Use spot metering to measure just the light reflected by the most splendid varieties in the cosmetics.
And try to shoot in RAW format to have the option to recover subtleties in the shadows and highlights, as the distinction between one and the other will be very visible.
04. Backdrop illumination with Color Gel
If by any chance your model’s silhouette is lost in the background, an effective method to get rid of it is to give the background a hint of backlight illumination. But, since we’re working with fluorescent-colored make-up and paint, just the dabs of the make-up and paint on the background to light it up.
05. Bokeh with Led Strip Lights
You can go a step further to get even more imaginative results by introducing bokeh in the shots. Just add some bokeh with a colored led strip. Put the led strip before your lens so that its lights are blurred making a pleasant bokeh. You can also experiment by having your model hold the strip.