THIS ARTICLE MAY CONTAIN AFFILIATE MARKETING LINKS! IN CASE YOU MAKE A PURCHASE THROUGH ONE OF THE LINKS, WE'LL GET A SMALL COMMISSION. WITH NO EXTRA CHARGES TO YOU. THANKS!!
Welcome to the persuasive world of 3D artistry, where creativity bridges with technology to produce compelling scenes, animations, games and more. With Daz 3D, such magic is made possible even to beginners, transforming simple ideas into rich virtual realities. This article will guide you through the practical journey within Daz 3D’s interface, starting with understanding its layout, panels, and tools. And giving you information to use Daz 3D posing. We’ll dive into the nuances of character selection and importing and explore the realm of body posing from basics to advanced techniques. So, buckle up, and get ready to turn your 3D dreams into tangible virtual creations.
Understanding Daz 3D Interface
Daz 3D’s interface could be a bit overwhelming at first glimpse with its various panels, tools, and complex layout. In order to effectively manage the program, it is paramount to understand the anatomy of the interface. On the left side of the screen, you’ll find the ‘Smart Content’ and ‘Content Library’ tabs. These tabs are where you can locate your models, posing presets, materials, and so much more. The ‘Parameters’ and ‘Pose Controls’ tabs are situated on the right side. They play a significant role in manipulating the movements and poses of your characters.
Navigation in Daz 3D
Navigating the 3D space is pivotal in 3D modeling and animation. It is accomplished by using the 3D navigation tools present at the top right corner of the viewport. The four tools – Orbit, Pan, Zoom, and Frame – permit you to move around your scene. ‘Orbit’ allows you to rotate the view, while ‘Pan’ is used to move the viewpoint sideways or up and down. ‘Zoom’ aids in closing up or stepping back from a particular object. ‘Frame’ lets you focus the display onto the chosen item, providing a closer view for detailed operations.
Selecting and Manipulating Objects
To select an object in your scene, simply click on it in the ‘Scene’ tab. You can move, rotate, or scale your selected object with the ‘Active Tool’ toolbar located below the viewport. Icons of arrows, curves, and squares will appear around your model once it has been chosen. The arrows are for moving, curves for rotating, and squares for scaling your object. Manipulation can be carried out in x, y, and z directions by dragging the corresponding arrows, curves, or squares.
Positioning and Posing Conservations
The tweaking of a character’s position or pose is performed in the ‘Parameters’ and ‘Pose Controls’ tabs on the right side of the interface. Here you’ll find different sliders for each body part of your character, allowing you to pose them with precision. Under the ‘Pose Controls’ tab, there are preset poses which can be applied to your models with a simple click. Familiarize yourself with the controls and experiment to get the exact pose you desire. It’s all about exploring the endless possibilities in Daz 3D, as you create compelling visual narratives.

Character Selection and Importing
Choosing the Right Character
Daz 3D offers a wide array of pre-made characters for your 3D modeling projects. To select the right one, navigate to the “Figures” or “Characters” categories in your Content Library. As you peruse the available options, consider the needs of your project. Are you seeking a humanoid figure for a fantasy project, or an animal for a nature-inspired design? Each character will give you different possibilities, so choose wisely.
Importing Your Selected Character
Once you’ve made your selection, it’s time to import your character into your active workspace. To do this, simply double-click on your character’s thumbnail in your content library. The figure will appear in the center of your workspace. Make sure to resize or reposition your new character to suit the needs of your scene.
Applying Materials
Dress up your characters with materials to add another layer of realism. Materials alter the look and feel of your asset, making it appear to be made of a specific substance or texture. Each character will have its own set of preset materials which can be browsed in the “Materials” folder in the Content Library. Once you’ve found the right texture, apply it to the character by clicking on the material and dragging it onto the character’s surface in the viewport.
Donning Clothes and Accessories
After you’ve applied a material, it’s time to give your 3D model some personality with accessories and clothing. Available clothing and accessory options will vary by character and can be found in the Products section of the Content Library under the appropriate sub-headings. Simply click on an item to add it. Remember, the clothing will often need to be adjusted to fit your character’s bodythe shape, which can be done using the parameters dials on the right side of the screen.
Customizing Characters
With Daz 3D, customization is key. The program allows users to tweak every aspect of their chosen figures, from their poses to their facial expressions. Experiment with different adjustments to make your figure truly one-of-a-kind.
Remember, the look and feel of your character can tell a story. By taking the time to carefully select, import, and dress your character, you’re making strides in creating a compelling visual that engages your audience and brings your vision to life.
Basics of Daz 3D Posing
The Basics of Posing in DAZ 3D
One of the most noticeably captivating elements in 3D modeling and animation is posing. Whether you’re setting up a single character for a portrait or staging an entire scene, the right pose can breathe life into your creations. To begin this process, you need to familiarize yourself with the posing tools available in the DAZ 3D workspace.
Navigating the Posing Controls
Position your cursor over a body part of the figure in the workspace. The mouse pointer will change into a hand icon when you’re over a selectable part of the figure. Get comfortable with selecting and manipulating body parts. Remember, in the 3D world, it’s not just the extremities you can move. You can adjust everything from a character’s gaze down to their individual fingers.
Moving, Rotating, and Scaling Body Parts
After selecting a body part, move it by clicking and dragging. If you want to lock movement to a single axis, hold down Alt (Windows) or Cmd (Mac) and use your mouse cursor to specify the direction of movement. This makes it easier to position body parts accurately.
For rotations, select the body part and use the rotate tool located in the tool palette on the right side of the screen. Click and drag on the white circle that surrounds the body part to rotate it.
Scaling can be crucial for emphasizing or downplaying certain parts of your scene. Use the scale tool, again found in the tool palette, to adjust the size of specific body parts.
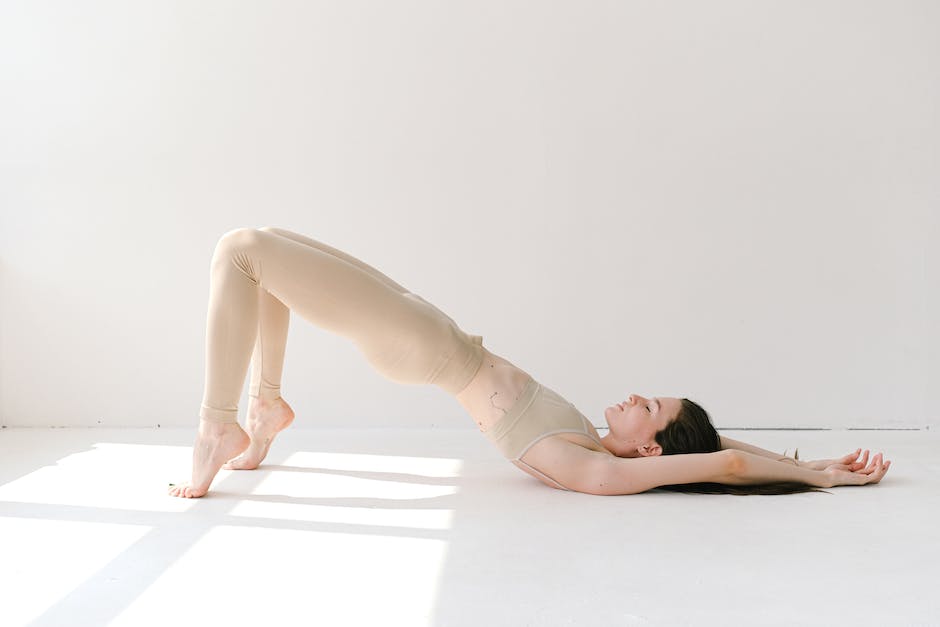
Creating Natural-looking Poses
Achieving natural-looking poses requires practice and observation. Spend some time studying human anatomy and movement. Take note of how people stand, sit, and move in real life – pay attention to factors like weight distribution and limb alignment. Seeking references from photographs or real life can dramatically improve the quality of your poses.
Adjusting Camera Angles
An important ‘behind-the-scenes’ element of posing is the camera angle. This can dramatically affect the visual effect of the pose. To adjust your camera angle, select the camera in the ‘Scene’ tab and use the rotate, move, and scale tools just like with body parts.
Remember, there’s no fixed point of view in 3D space – experiment with different angles to create dramatic compositions or to add depth to your scene.
Applying What You’ve Learned
Mastering posing in Daz 3D is a matter of patience, creativity, and attention to detail. Remember, the end goal is a natural, visually interesting scene – that looks just as alive as the real world. Take your time and get familiar with how the human body moves and reacts to its settings. Then, apply that knowledge to the fine controls and expansive possibilities of Daz 3D.
Advanced Posing Techniques
Initial Take on Advanced Posing Techniques
One of the first steps in creating complex poses in Daz3D is making use of the pre-set poses. You can find these pre-made poses stored within the “Figure Pose” files, located within the Library Panel. By simply clicking on a pose file you’re able to apply it to your character. It’s a great starting point if you’re new to Daz3D or just looking to experiment with poses. This tool gives you a base model of a pose that you can then manipulate to your specifications.
Creating Custom Poses
To dive into a more sophisticated posing process, you’ll want to hands-on in creating your own custom poses. To begin, select the body part you wish to pose by clicking on it directly in the viewport or choosing it from the scene tab. Use the parameters tab to adjust the different body parts. You can modify each body part by rotating, translating or scaling. When going through this process, remember to take your time, be patient and adjust each area slowly. You’ll often find that small adjustments can make a big difference and improve the realism of the pose.
Saving Your Poses
After you have successfully created your desired pose, you might want to save it for future use. It’s relatively straightforward to store your poses; go to File menu > Save As > Poser Pose Preset. You’ll need to select the character or part of the character that the pose applies to. A pop-up window will allow you to name your pose and choose the location where it will be saved. Remember where you save your poses so that you can easily access them in the future.
Applying Poses to Different Characters
There may be instances where you want to apply the same pose to different characters. Daz3D poses aren’t exclusive to the character they were created on; they can be applied to any other character. However, it’s important to remember that different characters have different proportions. So, while a pose might look natural and balanced on one character, it might seem disproportionate or distorted on another. If this happens, slight adjustments will need to be made to ensure the pose still appears natural on the new character.
Avoiding Distortion
When posing characters, it’s important to maintain proportion to prevent distortion. One technique is to keep in mind real-world human anatomy. For instance, ensure the arms or legs aren’t contorted into impossible positions. Don’t only focus on the parts of the body you’re actively adjusting, but also pay attention to how the pose affects the other connected body parts.
In conclusion
With a fair amount of patience and some practice, you’ll be able to create stunning and realistic poses for your characters in Daz3D. Whether you’re using pre-set poses or creating your own from scratch, always remember to maintain proportion to avoid distortion.
After navigating the intriguing trails of the Daz 3D interface, character selection, and mastering the art of posing, you now hold the key to unlock fascinating visual stories. Just as a maestro commands an orchestra, you can now command your characters to portray feelings, actions, and narratives in the limitless canvas of 3D space. The journey doesn’t end here, these tools and techniques are but stepping stones to the infinite possibilities of 3D artistry. Continue experimenting, keep pushing boundaries, and let the spectacle of your imagination come to life with Daz 3D.