THIS ARTICLE MAY CONTAIN AFFILIATE MARKETING LINKS! IN CASE YOU MAKE A PURCHASE THROUGH ONE OF THE LINKS, WE'LL GET A SMALL COMMISSION. WITH NO EXTRA CHARGES TO YOU. THANKS!!
How to learn 3D modelling? if you are looking for the answer to this question then continue reading this article. The transformative power of technology is evident in many fields, with perhaps one of the most striking examples being the fascinating world of 3D modeling. Within the grasp of computers and creative software, ideas and blueprints are inflated into an enhanced version of reality, giving life to games, movies, and architectural designs that are tangible in the virtual realm. This dynamic process is manifold, encompassing a myriad of modeling techniques like solid, surface, and polygon modeling, facilitated by versatile software applications. If you have ever marveled at the lifelike graphics in a video game or the detailed 3D visualizations of an unbuilt structure, then you’ve witnessed the fruits of 3D modeling. This immersion aims to guide you through the basics of 3D modeling, familiarize you with the utilized software, engage you in hands-on tool exploration, and ultimately enable you to create and effectively render your own 3D models.
How to learn 3D Modelling
Introduction to 3D Modelling
3D modelling involves creating a three-dimensional representation of a physical object using specialized software. These models can be manipulated or moved like a physical object. There are three basic types of 3D modelling techniques known as solid, surface, and polygon modelling.
Understanding the Basics
Solid modelling is built on a mathematical concept of a solid object. It is the most robust and accurate type of modelling. Solid models are mainly used for mechanical design applications, including parts and assemblies.
Surface modelling is more about the visual appearance of an object. It doesn’t put emphasis on the object’s inner workings. Surface models are beneficial in industries where aesthetics are crucial, such as product design and automotive design.
Polygon modelling, on the other hand, is based on the object’s surface only. It doesn’t consider volumetric attributes. This type is popular in visual effects and video game industries as it gives artists full control over every aspect of the model’s shape and structure.
Exploration of 3D Modelling Software
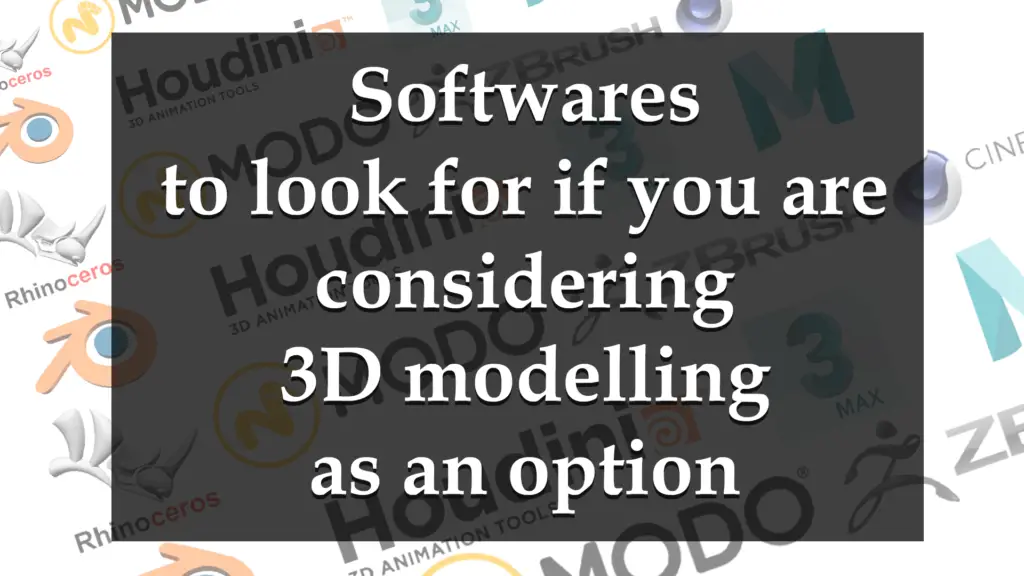
There is a wide array of software utilized in 3D modelling. Some of the most common include AutoCAD, Blender, SketchUp, ZBrush and 3DS Max.
AutoCAD is renowned for its precision and is used extensively in the fields of architecture and engineering.
Blender is a free and open-source 3D modelling software with a comprehensive range of tools. It’s popular within the animation and video game industry.
SketchUp is user-friendly and caters to architects and interior designers. It offers a simple interface for creating and editing 3D models.
ZBrush is used to sculpt high-resolution models and it’s a staple in the film and gaming industries.
3DS Max is used in the gaming industry to create 3D models, animations, and scenes. It is well-liked for its powerful rendering tools.
Each software has its unique features and is valuable in distinctive applications. Therefore, the choice of software depends on what you plan to do with your 3D modelling skills. Identifying the software that aligns best with your intended projects is an essential first step.
Applications of 3D Modelling
3D modelling has found its way into numerous industries including gaming, filmmaking, architecture, medicine, and more. In gaming, models of characters, props, and environments are created in 3D. In filmmaking, 3D modelling provides realistic effects and animations. In architecture, 3D models are used in the conceptualization and visualization of structures. As for medicine, it helps in visualizing complex organ structures and planning surgeries. As such, learning 3D modelling can open up a broad range of career opportunities.
Learning the Tools
Diving into 3D Modelling Software
To start your journey in 3D modelling, the first step is to familiarize yourself with a 3D modelling software. There is a multitude of options available, whether you prefer open source programs like Blender, or commercially available ones like 3ds Max or Maya. Regardless of your choice, the principle remains the same – begin with an understanding of the basic tools before moving on to more complex functions.
Starting with Basic Tools
Most 3D modelling software is equipped with a variety of tools that have unique functionalities. Typically, the elementary tools consist of move, scale, and rotate functionalities, which are used essentially for positioning, resizing, and rotating the objects respectively. As a novice, you should first focus on these core tools, creating simple shapes and objects and tweaking them in different ways.
Exploring Advanced Features
As you gradually get used to the interface and the basic tools, delve into the advanced features. Some of these might include tools for sculpting, texturing, and lighting. These advanced tools will help you in creating highly detailed and realistic models. You could start tinkering with these tools on the simple models you created previously, allowing for a comparison between the basic and advanced tool effects.
The Art of Experimentation
The key to mastering any software is practice and experimentation. Work on different projects to create a variety of 3D objects, such as a coffee mug, a chair, or a car. Each new object will expose you to different aspects and challenges of 3D modelling. Further, try modifying the same object using different tools and observe how each alteration affects the final model. This will not just improve your proficiency with each tool but will also enhance your understanding of when and how to use a particular tool effectively.
Remember, 3D modelling is not only about technical mastery, but also about being creatively mindful of the realistic details and nuances of physical objects. The more you experiment, the more likely you are to naturally incorporate these skills into your modelling approach.
Creating and Rendering a 3D Model
Acquiring the Necessary Software
Before delving into the creation of 3D models, it is essential to get the proper software installed. Widely used 3D software programs include AutoDesk’s 3DS Max or Maya, Blender, and ZBrush, to mention a few. Some are quite expensive but also offer student licenses, while others like Blender are open-source and free to use.
Learning and Navigating 3D Software
Each 3D modeling software has its own unique interface and set of tools, so familiarizing yourself with these tools is imperative. There are plenty of online tutorials and walkthroughs available for every program, which should help you navigate the software smoothly. Start by exploring the layout of the software, understanding its functionalities, and learning the basic operations.
Creating Basic 3D Models
Once you have a firm understanding of the software’s ins and outs, you can start modeling. Begin with simple shapes like cubes, spheres, and cones learning how to manipulate edges, vertices, and faces. With time and practice, you can move on to more complex forms, eventually shaping detailed characters, buildings or whatever your creative desire commands.
Applying Textures and Materials
Giving life to your 3D models involves applying textures and materials. Textures give your 3D models color and detail, while materials determine how those colors and details react to light. Both textures and materials are critical factors in making your models look realistic. As with previous steps, online resources and tutorials regarding this aspect of 3D modeling are abundant.
Adding Lights
Without lights, even the most detailed 3D model will look dull and flat. Lighting in 3D modeling is as crucial as in real-life photography or cinematography. This step involves learning about different types of lights such as directional, spot, and point lights, and how to effectively use them in your 3D scene.
Rendering the 3D Models
Rendering is the process of converting your 3D scene into a 2D image or animation. This stage involves a great deal of computational power and can take a significant amount of time. However, it’s the final step where all your hard work in modeling, texturing, and lighting comes together to create a beautiful, finished 3D image or animation.
Exploring Advanced 3D Rendering Techniques
As you get more comfortable with the software and the basic 3D modeling, texturing, and lighting process, you might want to explore advanced techniques. This could involve learning about different rendering methods like ray tracing or radiosity, or getting a deeper understanding of how various materials respond to light. Mastery of these advanced techniques can help take your 3D models to the next level.
Remember, patience and consistency are key factors in learning 3D modeling, as it is a complex field with an extensive learning curve. Embrace each step of the process, and don’t hesitate to explore, experiment, and make mistakes along the way. It’s all part of the creative journey.
The journey of mastering 3D modeling is bold and challenging, weaving together strands of creativity, technicality, patience, and constant learning. As you progress, the process will become more fluent and the tools will feel more familiar. Every 3D object you create, every texture you apply, every light you adjust, and every time you render a model will further solidify your skills. Take each step carefully, clearing your doubts, and practicing deliberately. The wonderful world of 3D modeling waits to be explored, and with the knowledge and experience you gather, you may find yourself at the frontier of creating stunning and compelling models for various industries. Let this be a springboard for your creative dive into a multifaceted world that continually pushes the boundaries of reality.