THIS ARTICLE MAY CONTAIN AFFILIATE MARKETING LINKS! IN CASE YOU MAKE A PURCHASE THROUGH ONE OF THE LINKS, WE'LL GET A SMALL COMMISSION. WITH NO EXTRA CHARGES TO YOU. THANKS!!
Table of Contents
- Setting Up the Photoshop Document for GIF
- Right Way to Import Images or Video to Make GIF
- Setting Up the Timeline
- Conversion of Layers Into Frames to Make a GIF
- Frame Duplication For Animation
- Setting the Delay Between Frames
- Setting the Times of Loop Animation
- Exporting the File as a GIF
- Conclusion on How to Make GIF With Photoshop
The full form of GIF is Graphics Interchange Format. It is a compressed form of images that are good for small animation. Photoshop is one of the best software to create GIFs. The built-in tools of Photoshop allow for the quick and easy creation of GIFs. You can relate the animation of GIF with classic animations. Animated GIF is a sequence of images that create the mirage of movement. If you drag and drop a GIF on Photoshop then you can see all the images that made that GIF. Without further ado, let’s see how to make GIF with Photoshop.
Setting Up the Photoshop Document for GIF
A good GIF is somewhere in the range of 600 to 800 pixels. Setting up the size of documents beforehand is preferable. It helps in giving some insight into the size of our GIF. It is necessary that a GIF should be small in size to make it easily shareable on different platforms. The large size of GIF is not easy to see for those who get low internet connection speed in their area.
Setting Up Dimensions
Firstly set up the dimensions of your project. If you are working on a project like an advertisement or banner then set the dimensions accordingly. For banners, the dimensions should be wide like 700×300 and for most advertisements square format is currently in trend. The units that we are talking about here are in pixels.
Resolution Required
To make the size small and easily viewable, the resolution should be 150 pixels per inch or lower. A high pixel per inch density will automatically increase the size of the file. So it is necessary to keep it to acceptable levels.
Which Color Mode to Use
Animated GIFs are viewable on the screen, so RGB color mode is the obvious choice. CMYK is for printing purposes so no need to use it. RGB is the color of all the colored screen devices like mobile devices, televisions, monitors, etc.
Right Way to Import Images or Video to Make GIF
Most people just import images directly into the workspace of Photoshop by dragging them from the folder. There is another method that is great for those who are looking to make GIFs.
For Image Users
- If you are making a GIF with images thne got to File > Scripts > Load Files into Stacks.
- Now a Load Layers window will pop up.
- In the Load Layers window go to browse and select all the files that you need from the file explorer window that pop up.
- After selecting all the files click Open and then OK in the Load Layers window.
- Now the files are imported into a separated document you can select them and drag them into the workspace.
For Video Users
The process to import video in the layer format in Photoshop is one of the easiest ways by this method.
- On the menu bar of Photoshop go to File > Import > Video Frames to Layers.
- Now select your video file from the explorer window.
- You can check the Image Sequence if you want (It doesn’t make much difference) and select OK.
- Now in Import Video To Layers window you can select how much of the video you wanted to converted to images and imported.
- After selecting the timeframe click OK and your selected video is now available in the form of layers.
- 3 Ways to Change Any Color in Photoshop
- Best Ways to Resize an Image in Photoshop
- 5 Ways of Removing Background in Photoshop
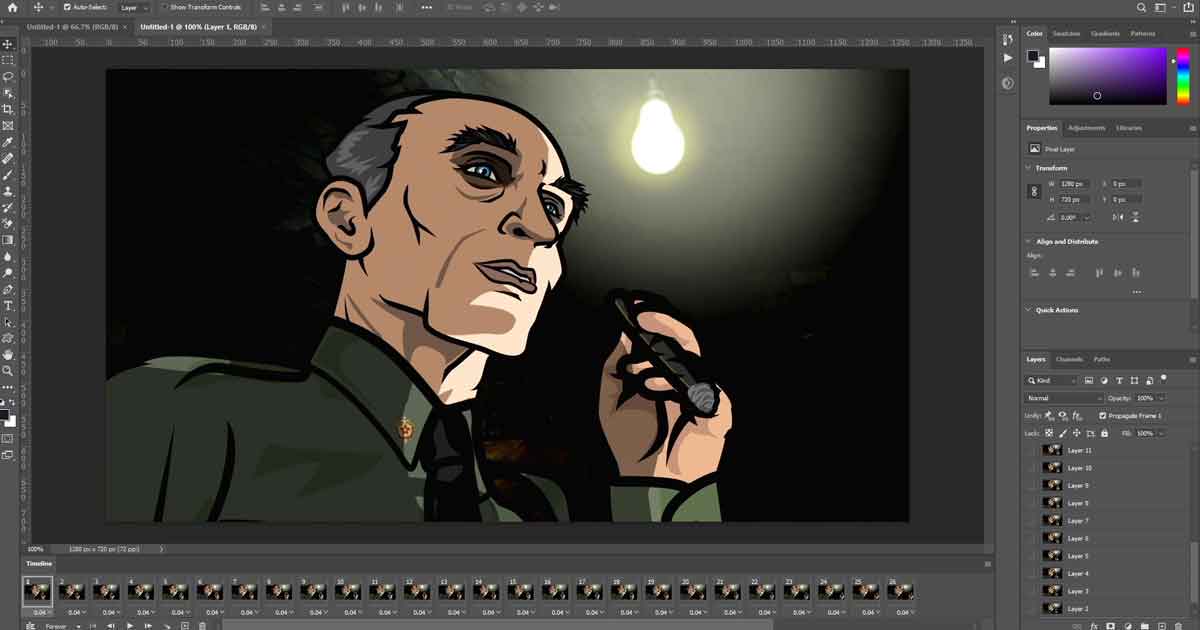
Setting Up the Timeline
You can’t animate anything without a timeline. Every software that has animation has its element must have a timeline. The literal meaning of a timeline is a graphical presentation of a period of time.
- To open the timeline in Photoshop, on the menu bar go to Window > Timeline.
- The timeline panel will open in the lower third of the Photoshop.
In case your layers are not automatically converted to frames in the timeline
- Now right click in the empty central area of timeline to open a dropdown window.
- From the dropdown window select Create Frame Animation.
Conversion of Layers Into Frames to Make a GIF
Now that the setup of the timeline is complete we can work on the layers to make the frames on the timeline. You can open a timeline ahead of importing images and videos.
- You can see that a single frame is already made for you by default in the timeline.
- Now go to the right hand top corner of the timeline panel and select the four menu lines.
- From the menu of timeline select the option Make Frames From Layers.
- Now your timeline is full of with frames that are also in your layers.
Frame Duplication For Animation
This method is good for animation with images. If you are not animating a video and instead want to use a single object at multiple locations then this method is for you. This method works like the animation of Classic Tween in Adobe Animate and Adobe Flash (Older Animate).
- To do frame duplication click on the box with “+” sign on it.
- For older version of Adobe Photoshop the sign is earmarked page.
- Now new frame will add on the timeline.
- Move the new frame on the workspace as per your animation requirement.
- Repeat this process few times to create a smooth animation for your GIF.
- Click on play icon on in the timeline panel and see the how your animated GIF turn out to be.
Setting the Delay Between Frames
If your animation looks very fast and you want it to slow down. In that case, it is necessary to add a delay between the frames. Adding delay between frames is according to your need. If you need smooth animation then frame delay must be with the short duration with more number of frames. Long delays between frames require less number of frames and in turn, create a stop-motion effect.
- At the bottom of every frame there is a time value written.
- To add the delay click on the time.
- After that a new panel of time will open and you can select from the given options.
- If you want custom delay then select Other after clicking on the time value of frame.
- Now a small window of Set Frame Delay will open.
- Insert your desired seconds of delay and click OK.
- Your frame delay is now set according to the timeframe you desire.
Setting the Times of Loop Animation
You can select the total number of times your GIF animation will loop. By default, it is set to Forever.
- To change the Loop of animation click on the value of loop. It is the second option on the timeline menu.
- You can set your custom value by clicking the Other option.
Exporting the File as a GIF

This is the final step in completing your GIF. It is here we can set the settings with which our GIF will export. This is optional but lightweight is great for social media usage.
- On the Menu Bar of Photoshop go to File > Export > Save for Web (Legacy).
- For older versions of Photoshop it is File > Save for Web & Devices.
- In Save for Web window select the GIF file type from the dropdown.
- Now you can click Save in the window and name it.
- After that your GIF is ready to use.
In Case you want to further reduce the size of your GIF
- In the Save for Web Panel after selecting GIF from the dropdown some menu icons will change.
- Reduce the value of Colors and percentage of Dither to make the file size smaller.
- You can see the output of your file on the left side of the panel.
- After getting satisfactory results save your file and give it a name.
- Now your GIF is much smaller than before and ready to use.
Conclusion on How to Make GIF With Photoshop
Now that you have learned to create GIFs on Photoshop you can experiment with many different elements. Select a scene from the movie you like and make a GIF easily. Or use multiple images and convert them into a fun GIF to share on different platforms.