THIS ARTICLE MAY CONTAIN AFFILIATE MARKETING LINKS! IN CASE YOU MAKE A PURCHASE THROUGH ONE OF THE LINKS, WE'LL GET A SMALL COMMISSION. WITH NO EXTRA CHARGES TO YOU. THANKS!!
Table of Contents
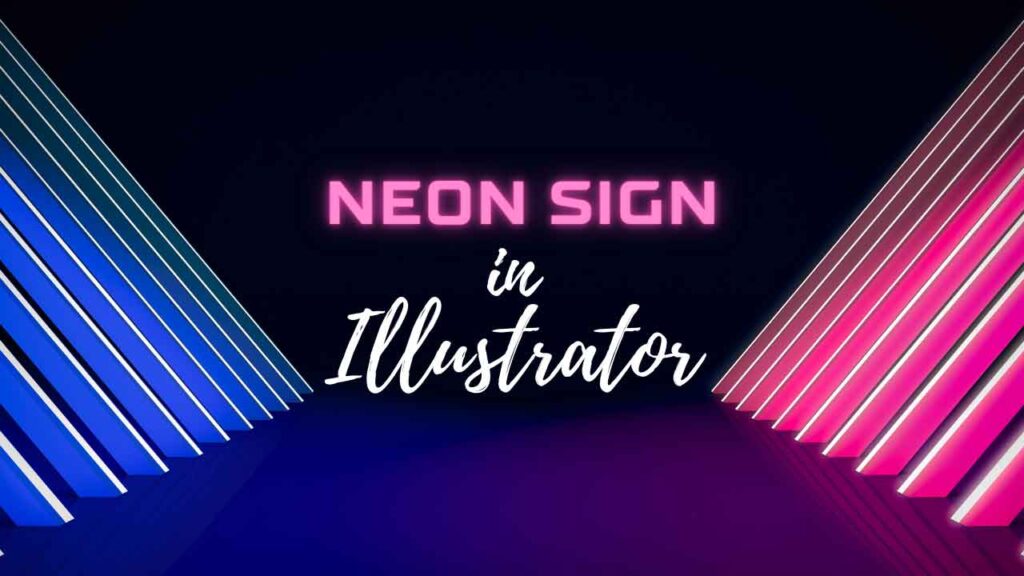
You can create a wide variety of effects in Adobe illustrator. And in this tutorial, we will tell how do you make a neon sign in illustrator. So, without further delay let’s learn how to make a neon sign in illustrator,

How to Make a Neon Sign in Illustrator?
Creating any effect or design involves various steps. The following guide will walk you through each one of them. Just follow along and you will be able to make a Neon sign effect in no time.
Setting up New Document
First off open Illustrator, and hit Ctrl+N to create a new document. Alternatively, you can create a new document by selecting File and then selecting New. Now select Pixels from the Units drop-down menu. And enter 1080 in the width and height box (you can put resolution according to your preference). The next step is to click the more settings button and select RGB color mode and set the Raster Effects to 300 PPI. After this just click on create document. Your document is now ready to work on.
Creating the Background
Now for creating the background, we are going to select the Rectangle Tool by pressing M, or by directly selecting it from the toolbar. After selecting the rectangle tool remove the Stroke color, and select the black color for the Fill. We are going with the black color because we are creating the neon effect and it looks its best with a dark background. Now create a rectangle of the size of the artboard and object lock the background because when we’re working with our neon text composition we don’t want to accidentally select this by mistake.
Typing Text And Creating the Neon Effect
Now select the Text tool, or the Type tool by pressing T and clicking anywhere on the artboard. The next step is to change your color to white so you can actually see your text and you can type whatever word you like. Let’s pick the font Arial Rounded Mt Standard, you don’t have to select this font it can be any font that you like, and keep its size around 200. Now select the text and go up to Type and click Create Outlines. And this will effectively turn it from editable text into a shape. Now select the color of your choosing, or select Pink.
We’ve got a pink text now what we’re going to do is select it goes up to Object, Path, and Offset Path. This will effectively create another version of our text but with a slight offset, we want this version to be thinner so set the offset to minus 5. If you zoom in, you can see it’s created another version of the text but a lot thinner inside the original letters. Now group the New thinner text together and the old thicker text together separately. Select the thinner text and select its color to be a lighter shade than the previously selected color (if you selected pink then a lighter shade of pink). Now we’re going to select the outer pink that’s the darker one. Go up to Effect, Blur select Gaussian blur and then take the preview box and adjust it as you need to. So you can see here this is adding the glow and is creating that neon effect, depending on the size of your artboard and your composition you can adjust this according to your preference. If you like you can apply slight Gaussian blur to the light-shaded object(it is completely optional).
Now for the finishing touch select our already blurred neon text and just select it and go up to Edit and then Copy and then Paste in Front. Select and apply Gaussian blur to this new object and we can increase the blur value just enough so that when we slide it back under holding shift using the arrow keys it just gives a little bit of a glow around the actual letters themselves and you can then adjust the transparency of this as you like so I might go with something around 80%.
With that the neon sign effect is complete you try different color combinations, different backgrounds, and fonts and see what works the best for you.