THIS ARTICLE MAY CONTAIN AFFILIATE MARKETING LINKS! IN CASE YOU MAKE A PURCHASE THROUGH ONE OF THE LINKS, WE'LL GET A SMALL COMMISSION. WITH NO EXTRA CHARGES TO YOU. THANKS!!
In the world of 3D rendering and modeling, the magic is often found in the details. Shading, or the manipulation of light and color to create depth and texture, is a critical tool that often dictates the perceived quality and realism of the scene or object being depicted. For those who create and manipulate 3D models in Daz3D, a popular digital animation software, understanding shaders and how to create custom ones can serve as an indispensable skill set. Whether you’re striving for photorealistic renderings or striving for unique stylistic expression, learning to craft and apply shaders in Daz3D will give you the tools to turn your vision into a digital reality. Let’s explore How to create Shaders for Daz3D.
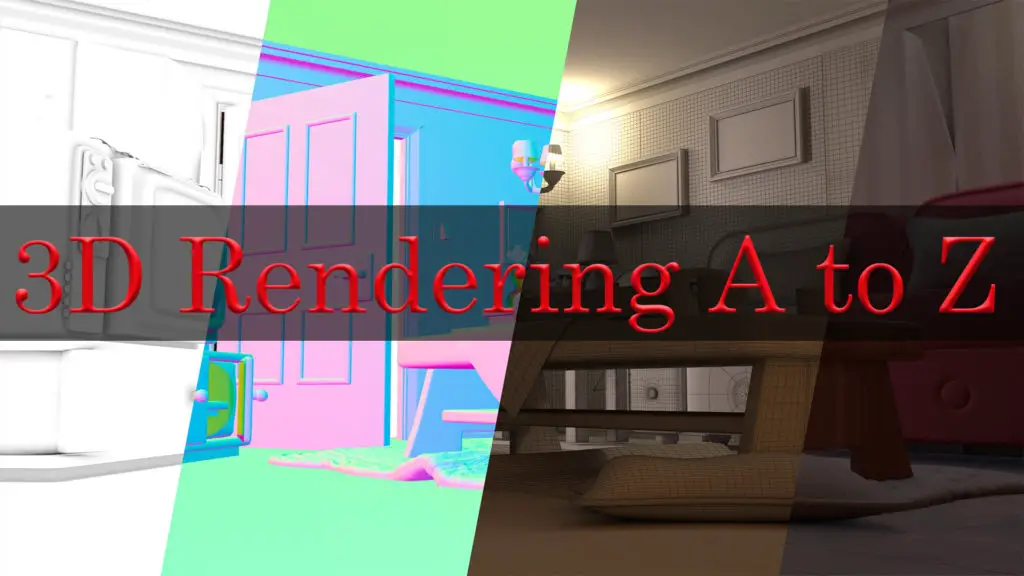
How to create Shaders for Daz3D
Title: Grasp the Core Principles Behind Daz3D Shaders
Are you an avid Daz3D user? Want to harness the true potential of this ground-breaking software? Let’s dive straight into understanding the fundamental principles driving shaders in Daz3D.
Shaders, the lifeblood of any 3D application, are nothing short of a modern marvel. A shader in Daz3D is a set of instructions coded to direct the manner in which the 3D software engine reflects, absorbs, or emits light. It’s crucial to understand that without shaders, Daz3D objects would appear flat, devoid of texture, reflectivity, or translucency.
- Material-Based Functioning
- Active Interaction with Light
- Utilization of Mathematical Algorithms
- Flexibility & Customizability
- Pivotal Role in Performance Optimization
- Realism Is Key
Shaders operate based on the material properties assigned to an object. Arguably, the most significant principle here pertains to how shaders function differently for differing materials. For instance, a shader interacts differently with a fabric material as compared to metal, using the properties of the material to calculate reflections, shadow casting, and lighting.
Shaders dramatically change how an object appears by actively interacting with light. Think of a surface shader; it essentially exhibits how an object’s surface interacts with light, determining aspects like specularity, glossiness, and reflectivity. This hugely influences the aesthetic appeal of the final render.
At the heart of shaders lie complex mathematical algorithms. These algorithms manipulate vertices and pixels to create visually stunning effects. The vertex shader manipulates an object’s vertices to provide a 3D perspective, while the fragment shader works at the pixel level to enrich the final look and feel.
Shaders in Daz3D offer almost unlimited flexibility and customization. User-defined shaders can alter the realism and aesthetic of 3D models to match various artistic styles and imagined outcomes.
Shaders also play a substantial role in graphics performance optimization. By manipulating how Daz3D handles light, reflections, and shadows, you can achieve your desired visual outcomes without significantly burdening your system’s GPU.
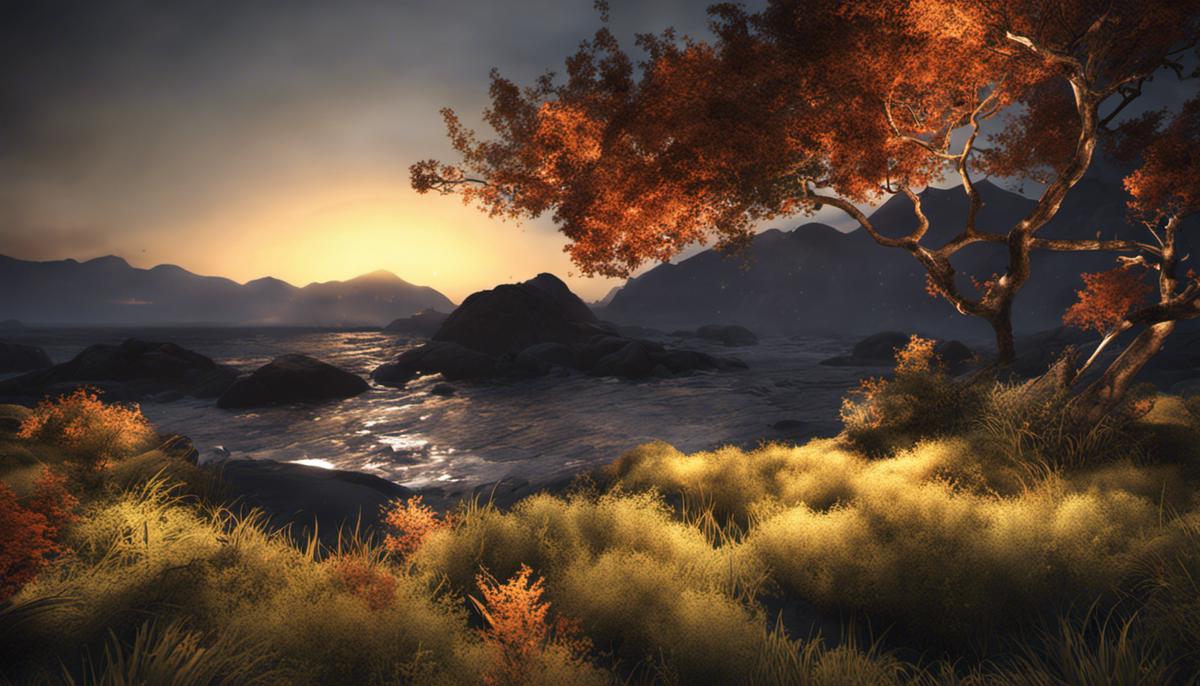
Finally, the last principle revolves around amplifying realism. Daz3D shaders employ techniques like Raytracing, Global Illumination, Ambient Occlusion, and Subsurface Scattering to augment realism by simulating real-world light phenomena.
Dive into these principles, eagerly experiment, challenge the base parameters, and transform your Daz3D modeling journey into an exhilarating experience. Shaders can truly elevate your 3D creations from the mundane to the magnificent. Eagerly anticipating your next Daz3D masterpiece!
Creating Custom Shaders
Crafting Custom Shaders in Daz3D: Amp up Your 3D Artistry
Daz3D is an artistic powerhouse, resplendent with features that not only empower creativity, but systematically transform imagination into visually arresting 3D models. One unique hallmark is its provision for custom shaders, designed to escalate the realism and material interactivity further up the echelon. While the initial approach might appear complex, the methodical walk-through below breaks down the process into straightforward steps.
Step 1: Access the “Shader Mixer” Tab
Primarily, navigate to the “Shader Mixer” tab on the right side of the interface, where the actual magic begins. The basis of shader creation, this specialized section, lets you design textures and materials in the most innovative way possible.
Step 2: Understand the ‘Brickyard’
The Brickyard functions as a palette of modulation and texture options for your custom shader design. This interactive toolset offers multiple bricks that assist in layering diverse effects on your creation.
Step 3: Create a New Shader
By clicking the ‘New Shader’ option, a blank canvas awaits your artistic intervention. Don’t hesitate to let your creativity flow into this void, shaping it into a visually engaging spectacle.
Step 4: Incorporate ‘Bricks’
Each ‘brick’, when selected from the Brickyard, creates a unique effect when applied to the blank shader. This process involves dragging and dropping the bricks into the Shader Mixer, connecting them to recreate various material effects.
Step 5: Apply Mathematical Logic
Custom shaders in Daz3D can often resemble a mini coding project, reinforcing the integration of artistic flair with mathematical logic. Effectively use mathematical algorithms to create compelling textures, shading, and reflection nuances that elevate your 3D model with a profound dimensional precision.
Step 6: Test the Shader
Before final implementation, it’s crucial to test the shader on your selected software model, observing how it interacts with artificial light sources. Changes and adjustments can be made accordingly, allowing you to manipulate the shader to achieve desired illumination, aesthetics, and depth.
Step 7: Save your Custom Shader
Once the shader has been tweaked to perfection, save it for future use. The advantage? Reuse this custom shader across different 3D models and projects, carrying the unique visual aesthetics forward with each application.
Navigating through the vast Daz3D realm, it’s easy to stumble upon its boundless flexibility, customizability, and the pivotal role it plays in performance optimization. Achieving mastery over custom shaders in Daz3D can be the stepping stone to creating meticulously detailed and visually stimulating 3D animations, scenes, and more. So, let this serve as your guiding force through the interesting yet complex maze that Daz3D offers. Happy designing!
Applying Shaders on 3D Models
Headlining towards the second part of the article, let’s shift gears to focus solely on the detailed process that walks you through the application of shaders to your 3D models within the captivating world of Daz3D.
First off, selecting your preferred 3D model is essential. With a model to work on, you can observe in real-time how the shader textures modify and interact with the shapes and contours of your design. Now, open up the Surfaces (Color) tab. This is the key access point for shading related tasks in Daz3D.
The Surfaces tab provides a dropdown list from which you’ll need to select the specific part of the 3D model that you want to apply the shader to. Once selected, you can click on the arrow next to the listed item. This will display all of the categories (Standard, Glossiness, Reflection, etc.) available for shader application.
Now, a crucial phase regarding Daz3D’s functionality is navigating to the Presets section, an abundant resource of pre-built shaders. The journey starts when you click on the ‘shader’ button located in the top-right corner of the surfaces tab, and then on ‘Browse’ to browse for potential shaders. The shaders are highly distinctive, providing boundless options that cater to the most particular needs.
Once you have selected a shader preset, you need to apply it. Clicking ‘apply’ will confirm your selection, and in the blink of an eye, you’ll see the effects take hold on the selected component of your 3D model.
Keep in mind that Daz3D understands the value in individual uniqueness, promoting this ethos by enabling users to tweak the shaders to their liking. Specifics parameters such as the Diffuse Color can be altered in Daz3D’s surfaces tab, offering an endless creative spectrum.
Now that your shader is in place and fine-tuned, the time has come to put it up for evaluation. Render the scene. This allows you to analyze the real-world impact of your selected shader on the 3D model, examining how the changes manifest when interacting with various light settings or different angles.
Have you designed a one-off shader that you absolutely love? Daz3D appreciated your work and would hate for it to go wasted. Hence, it provides an option to preserve your valuable shader for future use. Just follow a simple process: Go to the files menu > Save As > Shader Preset. Input a relevant name and select a suitable location.
Final takeaway – no shader applies universally. Your journey towards creating visually stimulating 3D animations and detailed scenes will thus involve a series of trials and tweaks. But don’t let that intimidate you. With its versatility and intuitive interface, Daz3D serves as a robust platform to dive deep into this realm, providing a gratifying creative experience. Just remember – the right shader can make a world of difference.

Mastering shader creation in Daz3D, like any other skill, takes time, patience, and a working knowledge of the basics. By understanding what shaders are, how they work, and why they’re crucial for high-quality 3D rendering, you lay a solid foundation upon which your shader skills can grow. The exciting journey of creating custom shaders awaits you, promising a deeper control on the way your models respond visually through unique codes. And the final achievement- successfully applying your custom shaders on Daz3D models, elevates your work from mere models to lifelike, or stylized art pieces, depending on your preferences. As you get more comfortable with shaders, you’ll find they open up a new world of possibilities for your 3D modeling work in Daz3D.