THIS ARTICLE MAY CONTAIN AFFILIATE MARKETING LINKS! IN CASE YOU MAKE A PURCHASE THROUGH ONE OF THE LINKS, WE'LL GET A SMALL COMMISSION. WITH NO EXTRA CHARGES TO YOU. THANKS!!
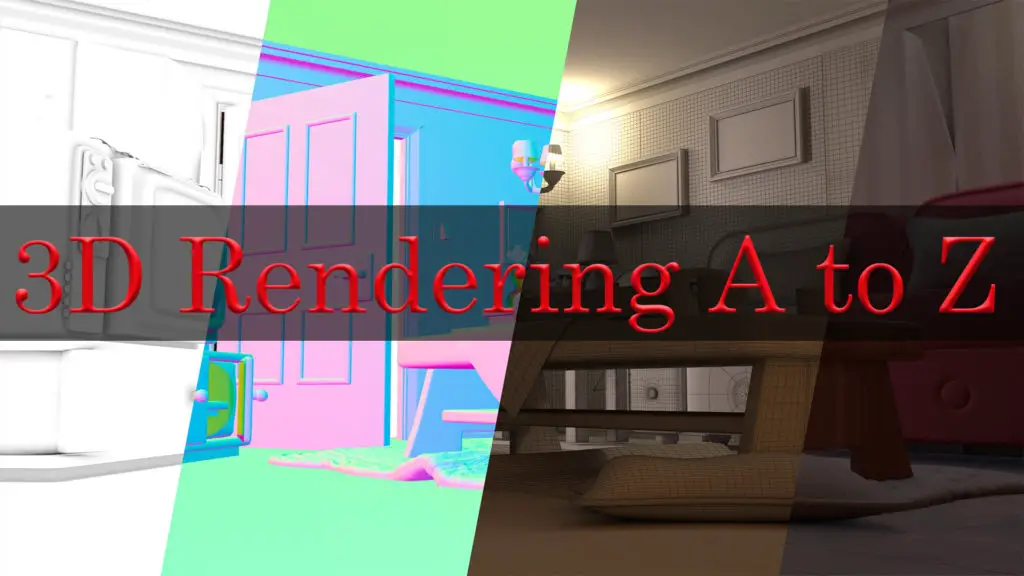
Agile, creative, and groundbreaking, modern day digital artistry is propelled to new heights by exceptional software like Daz3D. Simplifying and enhancing the creation process, it offers a critical solution to both novice and expert artists alike. Adopting new software, however, poses its own set of challenges, among them is understanding the process of importing models. This guide aims to provide a comprehensive perspective about Daz3D, focusing specifically on importing models into the software, setting the groundwork for you to fully exploit its potential. Let’s see How to Import Models into Daz3D?
Table of Contents
- How to Import Models into Daz3d
- The Process of Importing a Model into Daz3D
- Manipulating and Editing Imported Models
How to Import Models into Daz3d
Daz3D Interface
Daz3D uses a complex, yet structured interface teeming with different menus, tools, and panels. To navigate this efficiently, it’s worth familiarizing yourself with its main components.
The heart of the interface is the Viewport, found at the center. This offers a 3D perspective of your scenes, allowing you to modify elements directly. Above the Viewport, you’ll spot the Toolbar. It’s home to numerous tools including the Universal Tool, which lets you manipulate your models in the Viewport, and the Node Selection Tool, granting control over individual 3D objects in a scene.
Off to the right, you’ll find the Parameters Tab and the Posing Tab – these are great for making adjustments to the characters or items in your scene. For instance, the parameters can alter a character’s pose, facial expression, or body proportions, providing control down to individual fingers.
On the left lies the Content Library Tab. This is where you’ll locate your purchased and imported assets. The assets are organized by their product name and are further sorted by categories such as Figures, Props, or Hair.
Below the Viewport, the Timeline and Keyframe play a pivotal role if you intend on animating your characters. Here you’ll control the frame rate, implement keyframes and set the playback range for your animations.
The Scene tab, nested above the Content Library, is critical for depicting a hierarchical arrangement of all elements in your scene. It enables you to select, hide, or delete different components of your scene.
Finally, the top main menu hosts many dropdowns including File, Edit, Create, and others which house additional functionalities such as rendering and importing or exporting models.
Importing Models into Daz3D
In order to import models into Daz3D, start by pulling down the File menu located in the top left corner. From the dropdown menu, choose ‘Import’.
Select your file from your directories, then click ‘Open’. A new menu will pop up, providing you a list of import options including scale or texture maps. Define your import settings and select ‘Accept’.
Your 3D model will appear in the Viewport and can be managed within the Scene tab. Use the Universal tool for adjusting the model’s position, rotation, or size to fit your scene.
Remember, in the world of Daz3D, practice goes a long way in mastering the software. So don’t be daunted by the variety of tools and tabs – each has a part to play in honing your 3D compositions.

Understanding File Types Compatible with Daz3D
When it comes to Daz3D, compatibility is key to smoothly import models. One of the most common file types compatible with Daz3D is the .obj format. This file type represents a 3D object. It includes geometry, such as points (vertices), lines (edges), and faces. The .obj format is universally accepted in many 3D software applications. Thus, making it a preferred choice among 3D artists.
Another popular file format is the .fbx or the Autodesk Filmbox format. This format is used to provide interoperability between digital content creation applications. The .fbx format is widely used in the industry for the exchange and use of 3D models.
Daz Studio File (DSF)
Specific to Daz3D is the .dsf or the Daz Studio File format. This format stores the geometry, textures, and other details of the 3D model. It’s specially designed to use with Daz Studio software, and it enhances the quality of your model by reducing distortions and deformations.
Other Compatible File Types
Aside from the three main formats, Daz3D also supports a range of other file types. The .daz format, also known as the Daz Scene file, is used for storing scenes including models, textures, and lighting settings.
The .duf or Daz User File format is also supported, which stores morphs, poses, and other user data. In addition, Daz3D accepts the .pz3 (Poser Scene) format, commonly used in the Poser software. You can also use the .zpr (Zbrush Project) file, widely used in Zbrush for providing a complete 3D sculpting solution.
In conclusion
Understanding file types compatible with Daz3D is crucial when importing models. This ensures seamless integration and optimal results. Knowledge of these file formats like .obj, .fbx, .dsf and others empowers you to exploit the full potential of the Daz3D software.
The Process of Importing a Model into Daz3D
Identifying the Model File
The first step toward importing a model into Daz3D revolves around discovering your desired model file. This could reside anywhere on your computer, so ensure you’re aware of the precise location. Whether you’ve meticulously categorized it in a folder or have it languishing on your desktop, ensure you can navigate to the file when it’s required. Popular formats for these files generally include .obj, .fbx, or .dsf.
Navigating to Desired File in Daz3D
Once you’ve identified the location of your model file, launch Daz3D. Within the program’s interface, locate and click on the ‘File’ menu situated at the top left corner. From the drop-down menu, choose ‘Import’. This action prompts a new window wherein you are to navigate to your model file. Proceed to the folder where you’ve stored the file and select it. After selecting the file, click on the ‘Open’ button.
Understanding Import Settings in Daz3D
After clicking ‘Open’, you are presented with the ‘Import Options’ dialog box. This is where you customize the import settings based on what your model requires. There are settings for scale, which highly influence the size of your imported model, and options for converting materials and maps.
Import settings must be chosen carefully and generally depend on the specific needs of your project. Should your model be too large or too small, you can manipulate the scale value. For textures and materials to carry over, ensure you select the appropriate conversion options.
Fixing Errors in Daz3D Importation
Even with meticulous attention to detail, errors may still occur during the importation process. Error messages usually appear in a dialog box detailing what went wrong during the importation. Some common issues include mismatches in file types, improperly referenced textures, or unanticipated scale values.
For file type mismatches, be sure you are importing a format that Daz3D supports. If textures are missing or incorrectly shown, you may have to manually change the texture references in Daz3D. Lastly, if the model’s scale appears off, go back and adjust it within the model’s settings in the Import Options dialog box.
Completing the Import Process
After making all necessary adjustments and ensuring your settings are optimal, Daz3D renders your model in the interface’s view window upon your click of the ‘Accept’ button in the ‘Import Options’ dialog box. At this point, your imported model is ready for your artistic and creative manipulation within the powerful features that Daz3D offers.
Manipulating and Editing Imported Models
Importing Models into Daz3D
To begin with, you’ll need to import a 3D model into Daz3D. Navigate to “File” in the top left corner of the screen. From the drop-down menu, choose “Import” and select the 3D model file you wish to use. The model should now appear in the Daz3D workspace.
Scaling the Model
Once you’ve imported the model, you can modify its size by scaling it. To do this, ensure your model is selected and click on the “Parameters” tab located on the right hand side. Here, you’ll find options for XScale, YScale, and ZScale. These represent the size of the model in terms of width, height, and depth respectively. Adjust the percentage in these fields to resize your model.
Rotating the Model
Rotating your model is also done in the “Parameters” tab. Unlike scaling, which alters the dimensions, rotation changes the model’s orientation. For the XRotate, YRotate, and ZRotate options, you can select values ranging from 0 to 360 degrees. The XRotate option will tilt the model front to back, YRotate turns the model side to side, and ZRotate spins the model in place.
Translating the Model
The final manipulation option is translating, or moving the model within the workspace. Still staying within the “Parameters” tab, utilize the XTranslate, YTranslate, and ZTranslate options. These move the model horizontally, vertically, and depth-wise, correspondingly.
Applying Textures
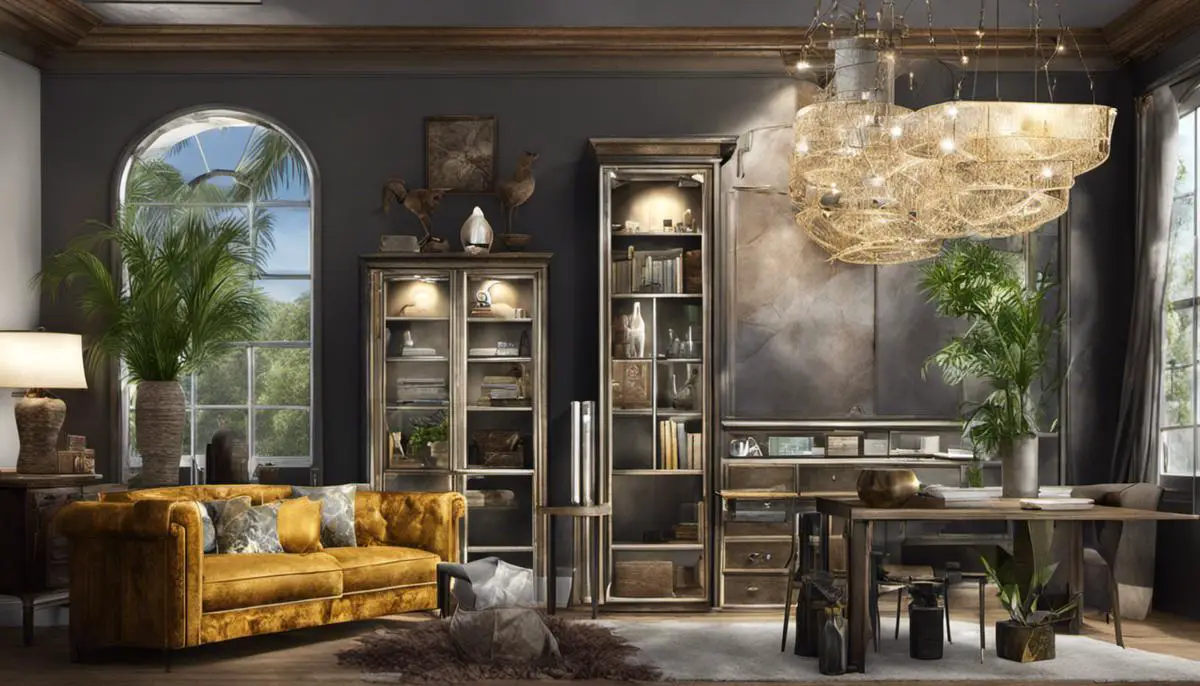
Applying textures to your model can significantly enhance its visual appeal. Navigate to the “Surfaces” tab, and locate the model in the objects section. There, you can select whether to apply textures to the entire model or a subpart. Once selected, click on the “Browse” button adjacent to the “Diffuse Color” option under the “Base Properties” section. Select the image file you intend to use as a texture.
Adjusting Texture Properties
After applying your texture, you may need to adjust its properties for better results. Remaining in the “Surfaces” tab, you can manipulate the “Glossiness”, “Reflection Strength”, and “Bump Strength” properties, among others. By experimenting with these properties, you can create an array of visual effects and ensure your 3D model looks precisely as you envisioned.
By gaining a profound knowledge of Daz3D’s interface and recognizing the compatible file types, you have surmounted an essential step in mastering this software. The step-by-step process on importing a model into Daz3D merely boosts your technical expertise, while the ability to manipulate and edit your imported models is a testament to your creativity. As you continue to utilize Daz3D, remember that it is a tool limited only by your imagination and aptitude for learning. It embodies not only the potential for creation but also the thrill of turning visions into reality in the realm of digital art.