THIS ARTICLE MAY CONTAIN AFFILIATE MARKETING LINKS! IN CASE YOU MAKE A PURCHASE THROUGH ONE OF THE LINKS, WE'LL GET A SMALL COMMISSION. WITH NO EXTRA CHARGES TO YOU. THANKS!!
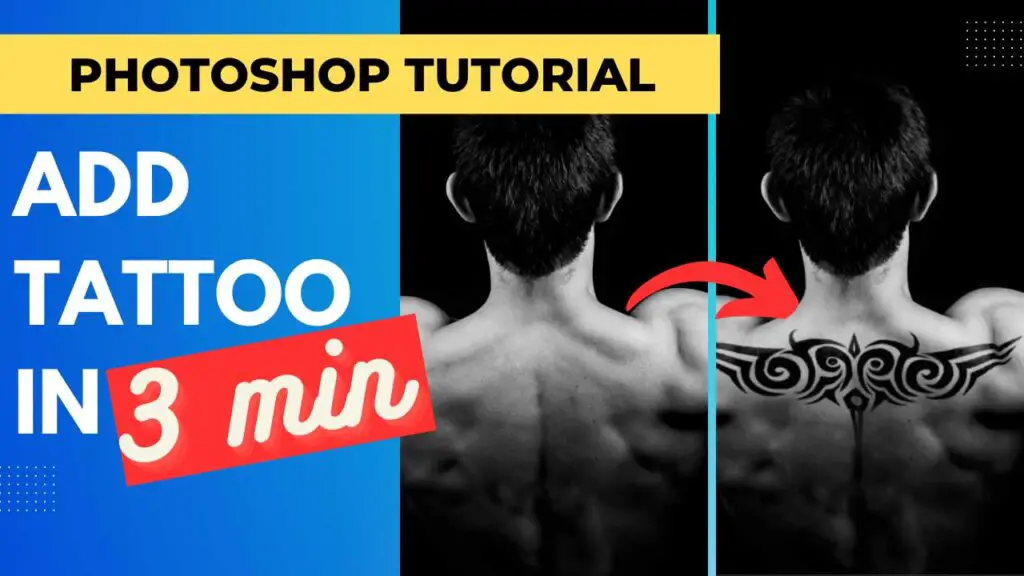
If you are looking for a way to add tattoo in photoshop then continue reading. In this tutorial, we have put a unique and very simple technique of Adobe Photoshop to create a realistic tattoo on your images as you all know that there is no software that can give you the freedom of editing as much as Adobe Photoshop. If you wanna get a tattoo but don’t want a permanent mark on the body then this tutorial is definitely for you. Without any further ado let’s begin the tutorial.
How to add tattoo in photoshop
Import the main image on which you want to add your tattoo.
After Importing your image right click on the image and select the duplicate layer.
Now the duplicate layer panel will open.
Select the dropdown menu of Document in Destination and select New and give a name to your layer. In this case, we are gonna make a displacement map for the character image so I am gonna name this Displacement Map.
After clicking OK your image will open as a new file named Displacement Map (or whatever name you put)
If you are using a colored image then you have to desaturate your image now by pressing Shift+Ctrl+U or going to Image>Adjustments>Desaturate.
After Desaturating your image add gaussian blur to your image by going to Filter>Blur>Gaussian Blur. Don’t add too much of it. Add just enough so that it will add a little blur on the edges of your image without blurring it too much.
Now save this file as a .psd and you can close this one and go back to your original file.
Time to import the tattoo that you want to put on your image now.
If you are using a PNG image of a tattoo then there is no need to add any blend mode or if you are using an image with white background simply add multiply blend mode from the dropdown in the layers panel.
Now adjust the position of the tattoo to your desired location on the character image.
With the tattoo layer selected go to Filter>Distort>Displace.
Select the horizontal and vertical scale of Displace (try to keep it within 20 so that it doesn’t distort too much) and click ok.
After clicking ok choose the displacement map that you created earlier of the primary image.
Now you’ll see that your tattoo has distorted according to the skin of the subject.
To add some finishing touches right click on the tattoo layer and select Blending Options.
Now your Layer Style panel will open and Blending Options will already be selected.
Now make adjustments on the bar of Underlying Layers. The dark side will focus on shadows and the light side will focus on the highlights.
Holding Alt and clicking on either point will split them in half so that you can make more detailed adjustments of shadows and highlights.
Once you get your desired blending result click OK.
Now you have successfully added a tattoo to your image without going to a tattoo parlor.