THIS ARTICLE MAY CONTAIN AFFILIATE MARKETING LINKS! IN CASE YOU MAKE A PURCHASE THROUGH ONE OF THE LINKS, WE'LL GET A SMALL COMMISSION. WITH NO EXTRA CHARGES TO YOU. THANKS!!
In today’s digital era, designing and rendering 3D models has become increasingly popular, especially with the wide array of software available. One such software is Daz3D, a comprehensive 3D creation tool that has proven to be extremely capable and user-friendly. This guide delves into the fundamentals of Daz3D, concentrating on one of its core functionalities – hard surface modelling. This extensive examination involves exploring the Daz3D interface, becoming familiar with its navigation and basic functionalities, and learning how to import and export models. Moreover, it focuses on hard surface modelling, distinguishing it from organic modelling and emphasizes on the significance of maintaining proper topology and clean geometry.
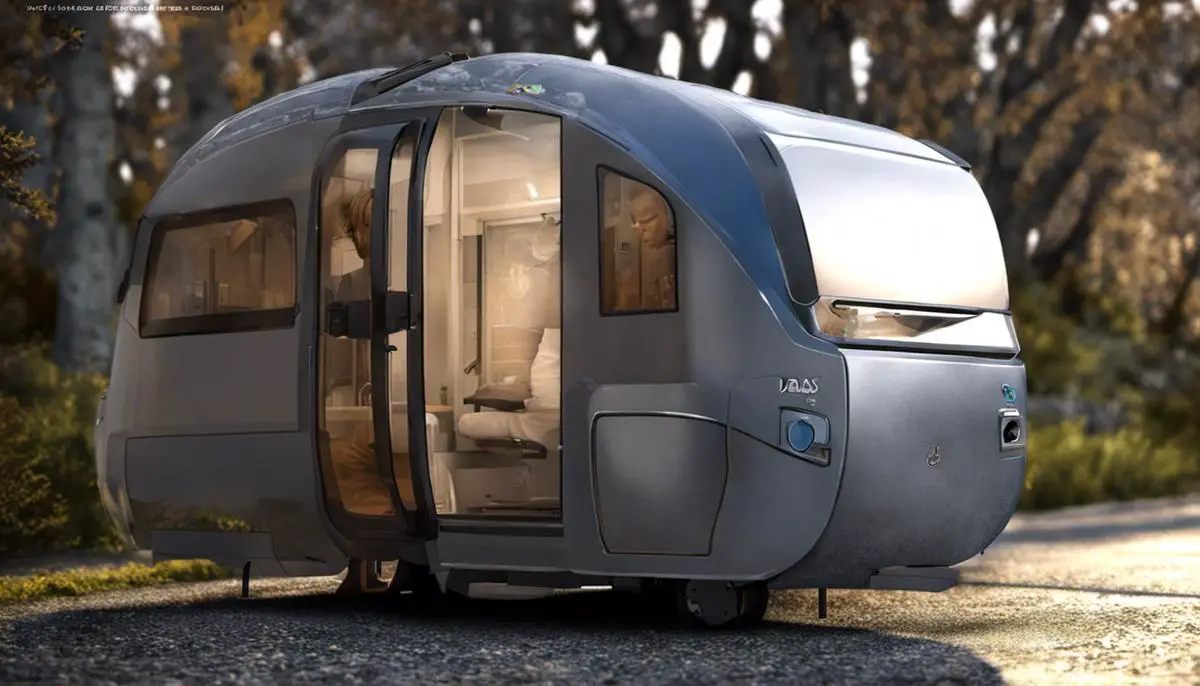
Daz3D Hard Surface Modelling
Getting Familiar with the Daz3D Interface
Daz3D offers a user-friendly interface divided into multiple sections. At the top, you will find a standard Windows-style menu bar, with options like File, Edit, and Create. Below that are highly graphical interface tabs for things like Poser Content, Shaping, Surfaces, Lights, Cameras and Render settings. The center of the workspace is the Viewport, which provides a 3D perspective of your scene. To its right, you have the ‘Parameters’ and ‘Content Library’ tab panels, which hold essential tools for modifying and adding content to your scene. On the far left is the ‘Tool Settings’ tab panel, which corresponds to whichever tool is selected from the ‘Tools’ toolbar lining the top of the ‘Viewport.’
Navigating the Daz3D Software
Navigating within your scene in Daz3D is handled via the camera controls located at the top right corner of the ‘Viewport.’ From here, you can rotate, pan, zoom, or frame your view. Rotation, for instance, adjusts the viewing angle; panning slides the view vertically or horizontally without changing the angle; zoom adjusts the level of close up or far away view; and frame centers your view around a selected item.
Understanding Daz3D File Types
Like any other 3D software, Daz3D uses file formats best suited for its functionalities. The native file format for Daz3D is .DUF, which allows you to save all information related to your scenes, poses, morphs, and textures. For more generic 3D modeling exports, you can use .OBJ or .FBX file formats, which can keep the geometric data, textures, and even animation.
Importing and Exporting Models
To import models into Daz3D, go to ‘File’ on the top menu, select ‘Import,’ navigate to your 3D model file (.FBX, .OBJ), and click ‘Accept.’ A window will then pop up, allowing you to control how your object is imported.
Exporting models is just as simple. Select the model you want to export, go to ‘File’ > ‘Export,’ choose a location, and specify the file type you want. Always remember to adjust the settings according to the software you plan to use the model in later.
Structuring Daz3D Scenes
A Daz3D scene is composed of various elements such as figures, props, lights, cameras, and nulls. Each of these items can be parented to each other to establish hierarchy and relation. The ‘Scene’ tab, on the right side of the workspace, gives a hierarchical view of all the elements in your scene, which can be selected, hidden, or deleted at your discretion.
Hard Surface Modelling Basics
Understanding Hard Surface Modelling
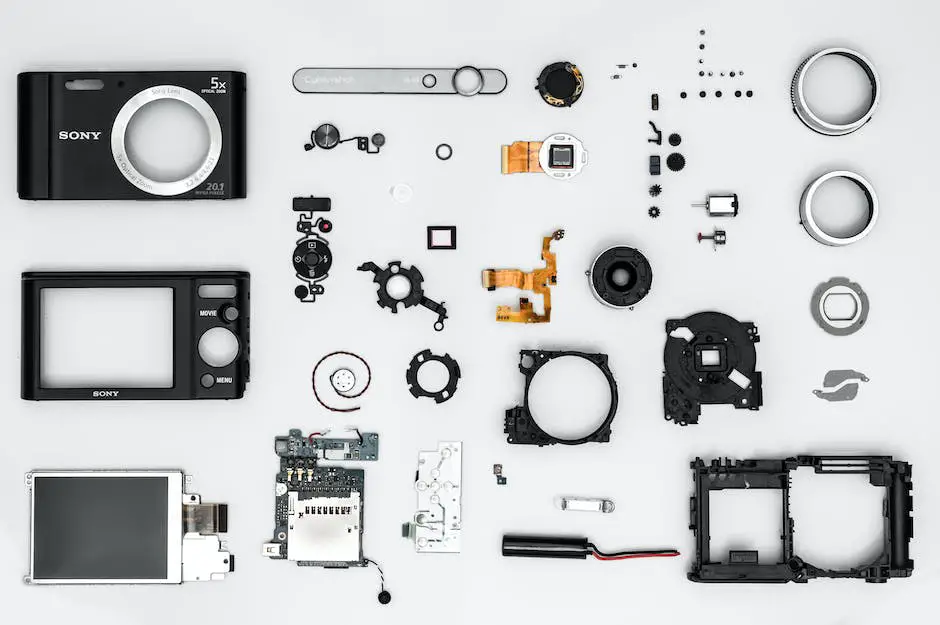
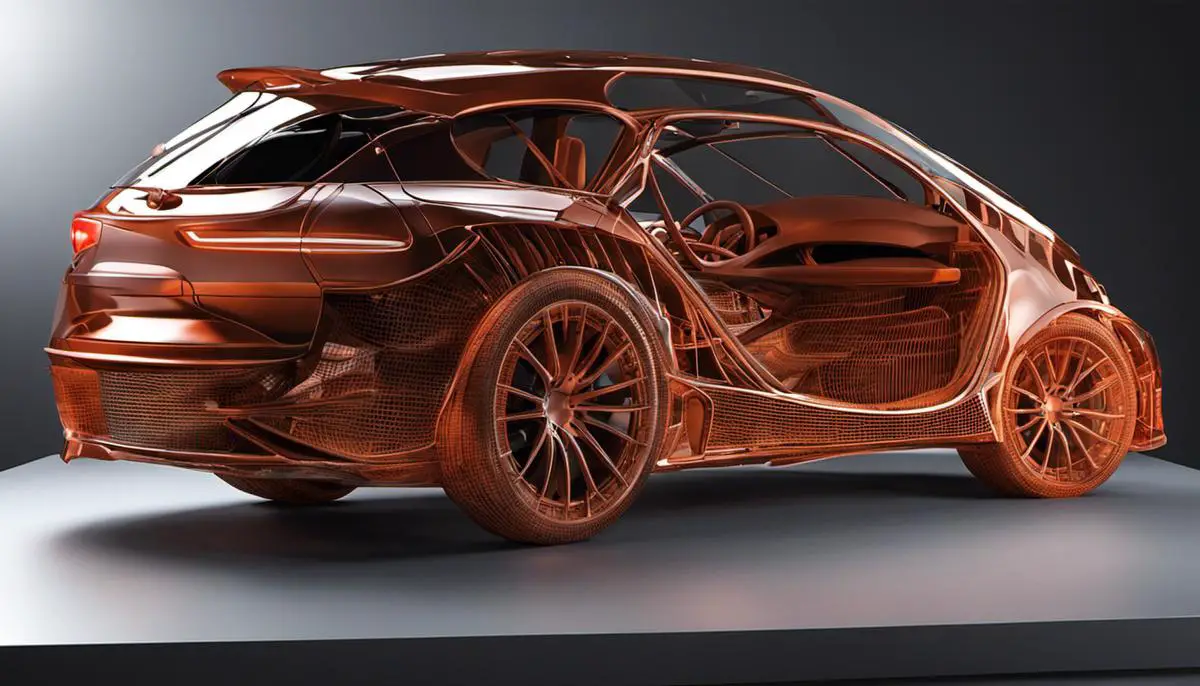
Hard Surface Modelling refers to the creation of non-deformable objects that aren’t typically organic. Essentially, these are objects made up of hard materials like metal or plastic. These could be anything from machinery parts, car bodies, consumer products to building exteriors. A significant characteristic of hard surface modelling is its emphasis on precision and sharp details, made up of distinct shapes and angles.
Differentiating Organic and Hard Surface Modelling
Organic modelling stands in contrast to hard surface modelling. While hard surface deals with man-made, precise objects and machinery, organic modelling involves creating objects that can deform or change shape. This would include living creatures, humans, or any object that is created by nature. Organic modelers focus on realism, emphasizing texture, curvature, and flow over absolute precision.
The Importance of Maintaining Topology and Clean Geometry
Maintaining a good topology and clean geometry is a fundamental concept both in hard surface and organic modelling. Topology refers to the arrangement of polygon faces on 3D models. A clean topology plays a crucial role, especially during an animation process where a good topology allows for easier deformations and a greater level of control.
Clean geometry, on the other hand, is comprised of well-arranged polygons and vertices that avoid unnecessary complications. This helps in avoiding potential problems when adding high levels of detail or during rendering phases. Clean geometry makes it easier to apply textures and materials to your surface as well.
In Conclusion
In your journey towards mastering Daz3D hard surface modelling, remember that an understanding of the differences between hard surface and organic modelling, as well as the importance of maintaining good topology and clean geometry, is the cornerstone to creating exquisite, lifelike, and functional models.
- How to Animate in Daz3D: Easy Guide
- How to Import Models into Daz3D: A Easy Guide
- How to Import Daz3D models into Blender? Easy Guide
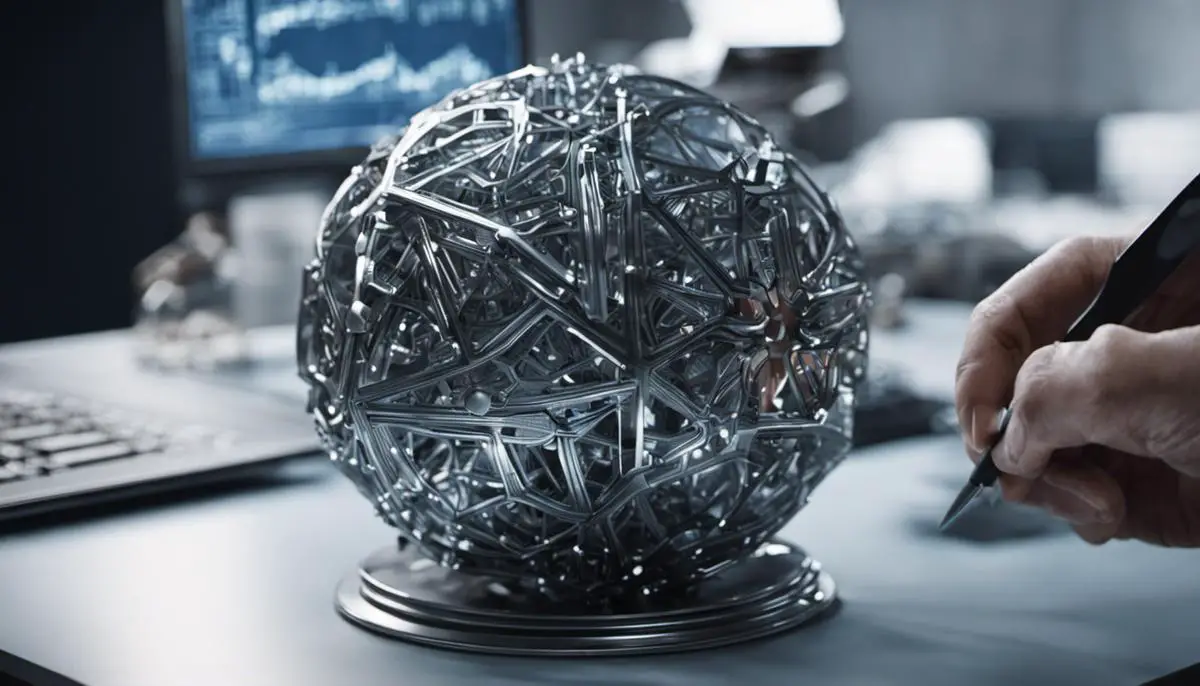
Hard Surface Modelling Techniques in Daz3D
Understanding Daz3D Hard Surface Modelling
Daz3D is a 3D modeling tool that lets you create realistic characters and environments. Hard surface modelling is a technique used extensively in creating non-organic, man-made objects such as vehicles, buildings, and machines. It’s essential to understand various tools and techniques related to hard surface modelling, such as Boolean operations, Mesh Fusion, and Retro Modelling, in Daz3D.
Working with Boolean Operations
Boolean operations are fundamental in hard surface modelling as they allow you to merge, intersect, or subtract one 3D object from another. Follow these steps:
- Create, import or select two 3D objects you want to use.
- Go to the “Create” menu, choose “New Boolean”.
- Set “Operation” to either Union, Intersection, or Difference depending on the effect you want.
- Then, select the two objects you want to operate on under “Operand A” and “Operand B”.
- Click “Accept” to apply the operation.
Utilizing Mesh Fusion
Mesh Fusion in Daz3D is a revolutionary tool that helps you create smooth and complex shapes by merging two or more objects together. Here’s a simple way to use it:
- Select the “Mesh Fusion” tool from the Daz3D interface.
- Choose the two objects you’d like to merge.
- In the properties tab, set your preferred fusion settings – “Union”, “Subtraction” or “Intersection”.
- Click “Fuse” to apply the fusion.
Embracing Retro Modelling
Retro Modelling is a technique that involves creating 3D models by starting with basic shapes and then gradually modifying them to achieve more complex structures. It’s valuable when modeling hard surfaces such as cars or buildings. Use the following steps:
- Start with a primitive shape that’s similar to the final object you want, like a cube for a car or a cylinder for a tower.
- Use tools such as “Move”, “Scale”, and “Rotate” to adjust the primitive shape.
- Apply more advanced tools like “Edge Loop”, “Bevel” or “Extrude” to add detail and complexity to your model.
Practicing by Creating Basic Shapes
The best way to understand the tools and techniques in Daz3D is to practice by making a variety of basic shapes. From making cubes to spheres, this exercise will give you a hands-on understanding of how hard surface modelling works.
- Click on “Create” and then “New Primitive”.
- Choose the type of shape from the drop-down menu. It could be a box, sphere, cone, or torus.
- In the options below, specify the shape’s dimensions.
- Click “Accept” to create the shape.
- Repeat the process to create different shapes and use the hard surface modelling techniques to tweak and adjust them.
Remember, hard surface modelling in Daz3D takes some practice. Don’t hurry and remember to experiment with various tools and techniques. With time and hands-on practice, you’ll be creating intricate and detailed hard surface models in no time.
Advanced Daz3D Hard Surface Modelling
Master Hard Surface Modeling in Daz3D
Developing skills in complex hard surface modeling involves several steps and techniques. The first step is to become proficient with the tools necessary for hard surface 3D modeling in Daz3D. You should be comfortable with manipulating geometric shapes, lines, and curves to create the surface of your 3D model.
Adding Details to Your Model
Understanding materials and how to apply them is a key component of hard surface modeling. You can enhance your creations’ visual quality by learning how to add effects such as bevels, chamfering, smoothing groups, and booleans. These help to create complex structures, sharpen edges, and smooth out polygons.
Further, you might use displacement maps or normal maps for additional detailing. They can replicate the illusion of height variations and add textures to your model. To apply these effects, you usually have to switch over to Daz3D’s shader or texture menus, depending on the software’s version you’re using.
You can explore tools such as Daz3D’s Decimator, which reduces the polygon count of high-resolution models while keeping those compound shapes. Another tool is Transfer Utility to apply skin weights from one model to another.
Texturing Hard Surface Models
Texturing plays a crucial role in hard surface modeling. Mastering UV unwrapping and mapping is vital in texturing any 3D model. You can create UV maps directly in Daz3D or use external programs like UVLayout or Blender. The textures can be sourced from various websites offering free and paid material solutions.
For hard surface texturing, usually, you’ll want a seamless metal, plastic, or concrete texture, which you then overlay with grime, dirt, and rust maps in the Daz3D shader.
Quite often, reflection and roughness maps are also used. They give your model the desired sheen and can mimic wear, tear, screeches, or rust on your model. Remember that subtle variation in hard surface texturing goes a long way!
Efficient Workflow Techniques
Efficiency in Daz3D is about time management and organizing your work properly. You might want to develop a routine or workflow that best suits you. For instance, you might prefer to carry out modeling, detailing, and texturing as separate stages, focusing on each as part of a sequence. Or, you might wish to do these tasks together in chunks, working bit by bit on each part of the model.
Use layers smartly to keep your workspace clean and to work on numerous parts of your model simultaneously. Use the group tools to bring together different parts of your model for easier manipulation.
Practice is key here. As you work more, you’ll find shortcuts and custom set-ups that tailor to your specific modeling style.
Many creators use reference materials while they work. If you’re creating a sci-fi weapon, for instance, gather images of various weaponry, machinery parts, or abstract geometric designs to inspire your project and deepen your understanding of different mechanical components.
Lastl,y ensure you keep saving your work at regular intervals. Losing work due to program crashes can be disheartening. Regular saves offer you safety nets.
Remember that you are always learning and improving with each project. No model is perfect, and there’s always room to grow and improve!
As the guide progresses, it transitions from the basics to more advanced hard surface modeling techniques in Daz3D. Sharpening your skills by creating complex hard surface models, this guide will help you explore effective methods to add details, use texturing for hard-surface models, and master techniques for an efficient workflow. This journey into Daz3D hard surface modelling covers not just theoretical knowledge but equips you with practical expertise that are highly desirable in today’s digital art industry. Ultimately, the objective of this guide is to empower you with the necessary skills to express your creativity through Daz3D and significantly enhance your design capacity.